

SmolDocling is a compact yet powerful document understanding model designed to turn complex document images—like academic papers, certificates, invoices, and printed forms—into clean, structured, and readable text. Built on top of the IDEFICS3 architecture and trained using real-world scientific and non-scientific documents, SmolDocling doesn’t just extract text; it understands layout, structure, and context using smart markup called DocTags. Whether it’s identifying tables, code blocks, formulas, or section headers, this model handles everything in one go with surprising accuracy and speed—averaging just 0.35 seconds per page on an A100 GPU. It’s lightweight enough to run on everyday GPUs (like a T4 or RTX 3060), yet smart enough to handle real-world complexity without breaking a sweat. SmolDocling is fully open-source, integrates seamlessly with the Docling ecosystem, and supports exporting results to Markdown, HTML, JSON, and more—making it the ideal choice for developers, researchers, and teams who want fast, reliable, and layout-aware document conversion without the bloat.
Resource
Hugging Face
Link: https://huggingface.co/ds4sd/SmolDocling-256M-preview
GitHub
Link: https://github.com/ds4sd/docling.git

Step-by-Step Process to Install SmolDocling-256M-Preview Locally
For the purpose of this tutorial, we will use a GPU-powered Virtual Machine offered by NodeShift; however, you can replicate the same steps with any other cloud provider of your choice. NodeShift provides the most affordable Virtual Machines at a scale that meets GDPR, SOC2, and ISO27001 requirements.
Step 1: Sign Up and Set Up a NodeShift Cloud Account
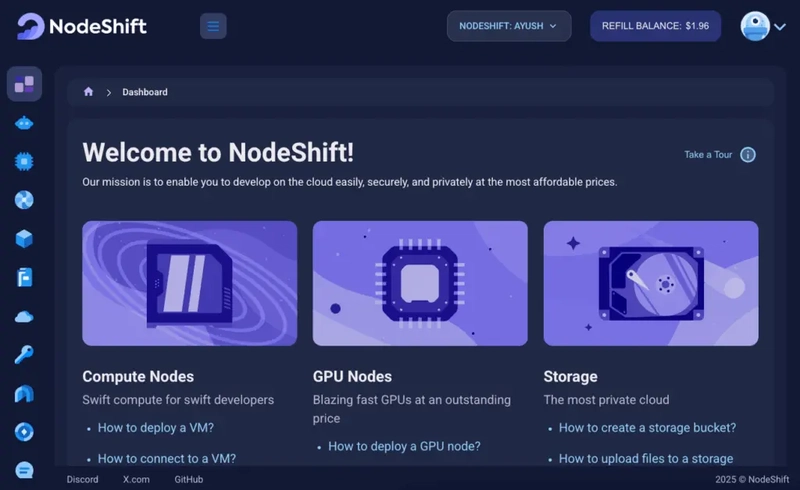
Visit the NodeShift Platform and create an account. Once you’ve signed up, log into your account.
Follow the account setup process and provide the necessary details and information.

Step 2: Create a GPU Node (Virtual Machine)
GPU Nodes are NodeShift’s GPU Virtual Machines, on-demand resources equipped with diverse GPUs ranging from H100s to A100s. These GPU-powered VMs provide enhanced environmental control, allowing configuration adjustments for GPUs, CPUs, RAM, and Storage based on specific requirements.
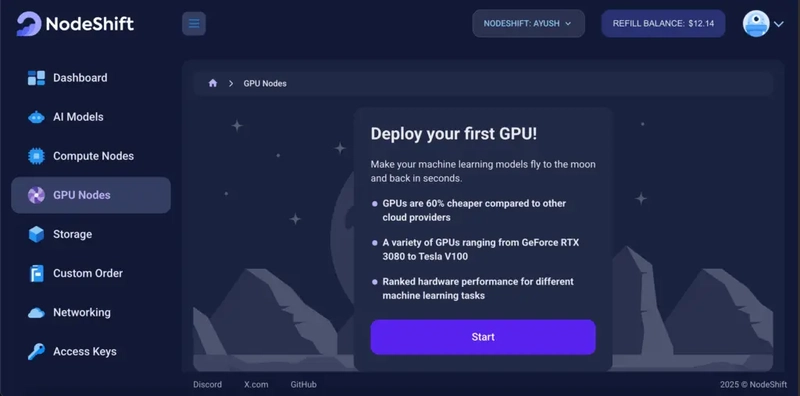
Navigate to the menu on the left side. Select the GPU Nodes option, create a GPU Node in the Dashboard, click the Create GPU Node button, and create your first Virtual Machine deploy
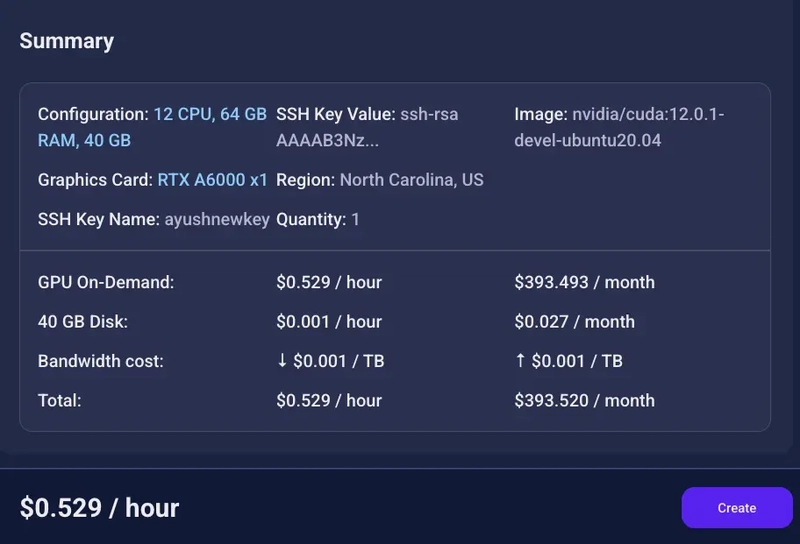
Step 3: Select a Model, Region, and Storage
In the “GPU Nodes” tab, select a GPU Model and Storage according to your needs and the geographical region where you want to launch your model.


Step 4: Select Authentication Method
There are two authentication methods available: Password and SSH Key. SSH keys are a more secure option. To create them, please refer to our official documentation.

Step 5: Choose an Image
Next, you will need to choose an image for your Virtual Machine. We will deploy SmolDocling-256M-Preview on an NVIDIA Cuda Virtual Machine. This proprietary, closed-source parallel computing platform will allow you to install SmolDocling-256M-Preview on your GPU Node.

After choosing the image, click the ‘Create’ button, and your Virtual Machine will be deployed.
Step 6: Virtual Machine Successfully Deployed
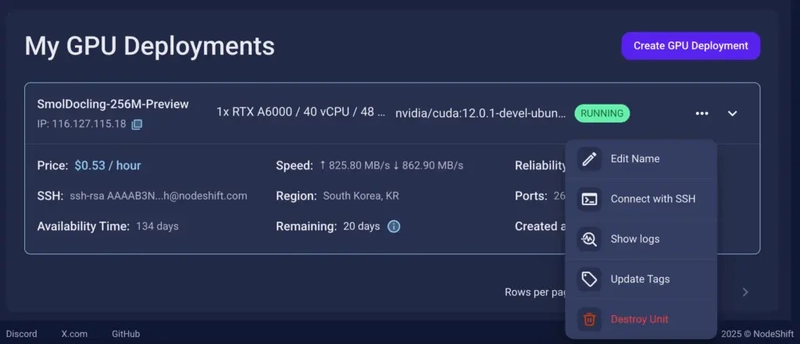
You will get visual confirmation that your node is up and running.

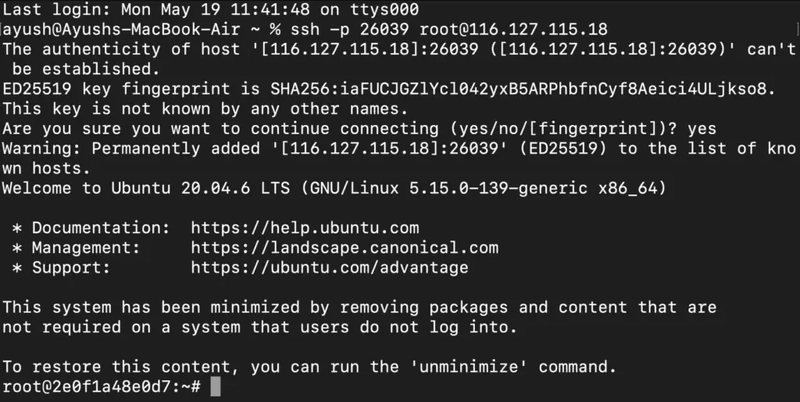
Step 7: Connect to GPUs using SSH
NodeShift GPUs can be connected to and controlled through a terminal using the SSH key provided during GPU creation.
Once your GPU Node deployment is successfully created and has reached the ‘RUNNING’ status, you can navigate to the page of your GPU Deployment Instance. Then, click the ‘Connect’ button in the top right corner.

Now open your terminal and paste the proxy SSH IP or direct SSH IP.
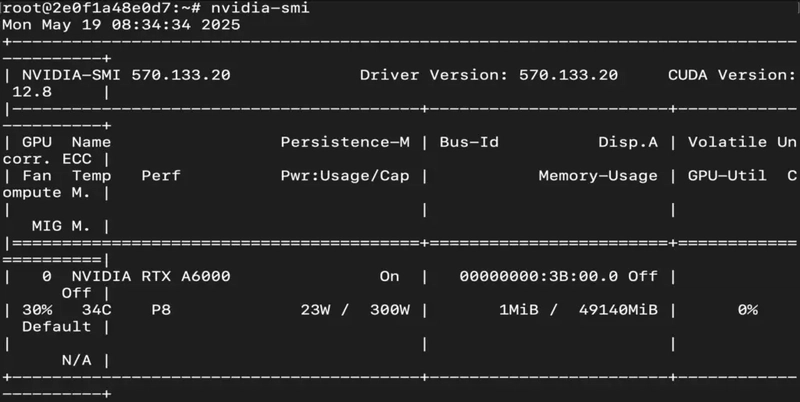
Next, if you want to check the GPU details, run the command below:
nvidia-smi
Step 8: Update the System
Run the following command to update the system:
sudo apt update && sudo apt upgrade -y

Step 9: Check the Available Python version and Install the new version
Run the following commands to check the available Python version.
If you check the version of the python, system has Python 3.8.1 available by default. To install a higher version of Python, you’ll need to use the deadsnakes PPA.
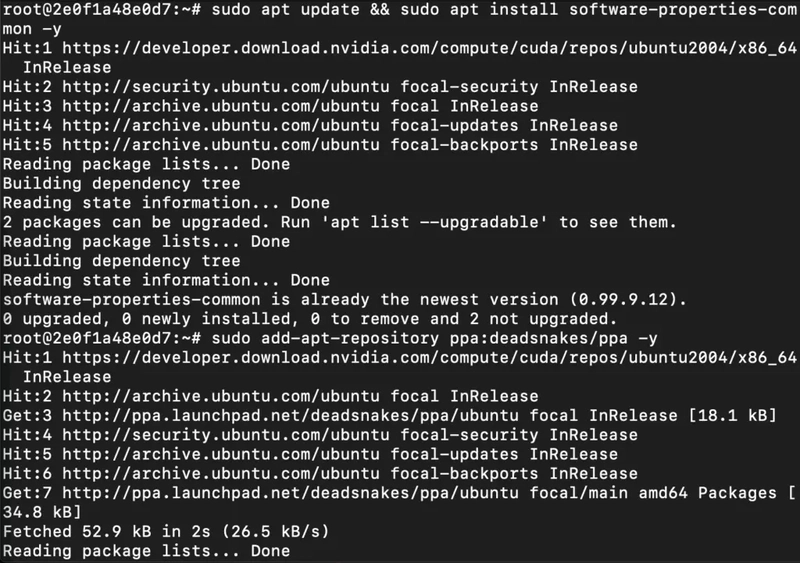
Run the following commands to add the deadsnakes PPA:
sudo apt update
sudo apt install -y software-properties-common
sudo add-apt-repository -y ppa:deadsnakes/ppa
sudo apt update
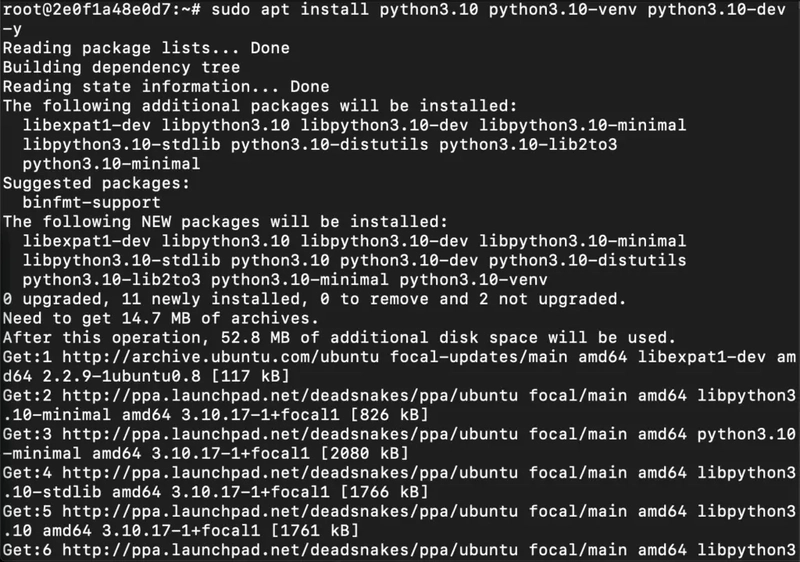
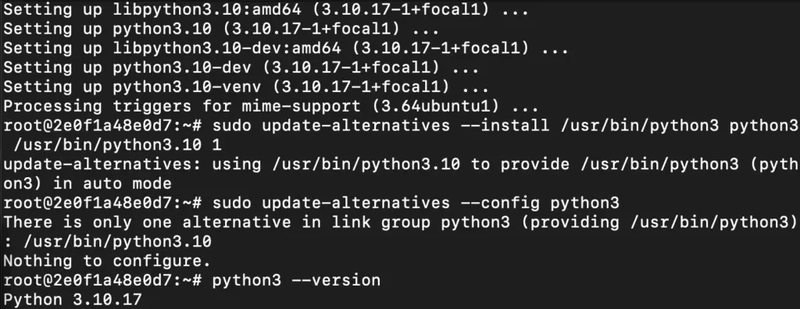
Step 10: Install Python 3.10
Now, run the following command to install Python 3.10 or another desired version:
sudo apt install python3.10 python3.10-venv python3.10-dev -y
Then, run the following command to verify that the new Python version is active:
python3 --version
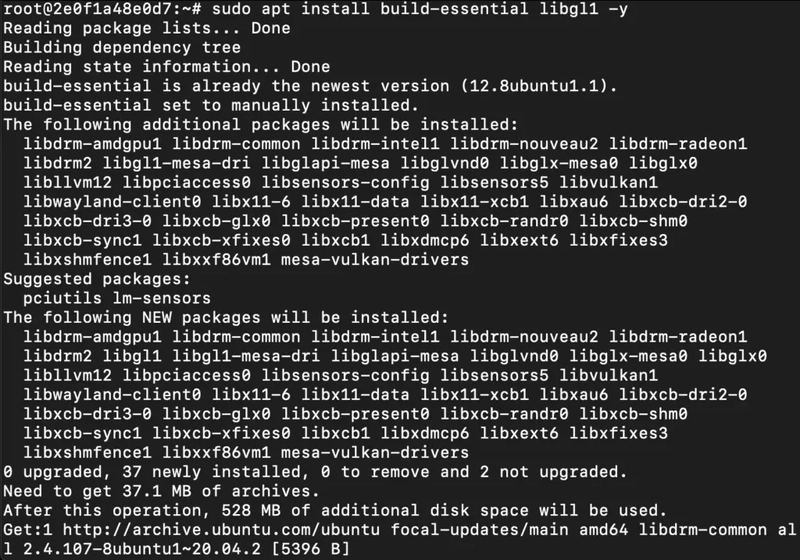
Step 11: Install Dependencies
Run the following command to install the dependencies:
sudo apt install build-essential libgl1 -y
Step 12: Install Pip for Python 3.10
Run the following command to install the Pip:
curl -sS https://bootstrap.pypa.io/get-pip.py | python3.10

Step 13: Create Python Environment
Run the following command to create the python environment:
python3.10 -m venv smoldocling-env
source smoldocling-env/bin/activate
![]()
Step 14: Clone the Docling Repository
Run the following command to clone the docling repository:
git clone https://github.com/ds4sd/docling.git
cd docling

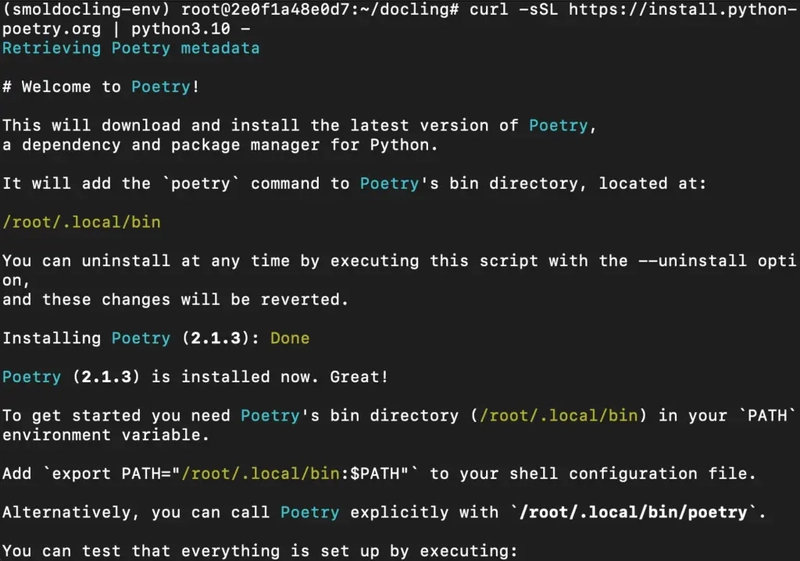
Step 15: Install Poetry
Run the following command to install the poetry:
curl -sSL https://install.python-poetry.org | python3.10 -
After installation, run the following command to activate Poetry:
export PATH="/root/.local/bin:$PATH"
Then, run the following command to check the version of poetry:
poetry --version

Step 16: Install Project Dependencies
Run the following command to install project dependencies:
poetry install

Then, run the following command to activate the Poetry shell:
poetry shell

Step 17: Install Transformers and PIL
Run the following command to install transformers and PIL:
pip install transformers torch pillow

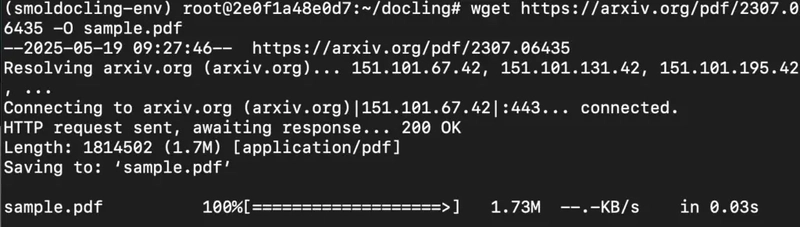
Step 18: Download a Real PDF from Google
Run the following command to download a real PDF from google:
wget https://arxiv.org/pdf/2307.06435 -O sample.pdf
Step 19: Create and Run the Inference Script
Paste this into a file using cat:
cat > smoldocling_test.py
Then paste the following code:
transformers import AutoProcessor, AutoModelForVision2Seq
from PIL import Image
import torch

# Load model and processor
processor = AutoProcessor.from_pretrained("ds4sd/SmolDocling-256M-preview")
model = AutoModelForVision2Seq.from_pretrained("ds4sd/SmolDocling-256M-preview").to("cuda")

# Load image
image = Image.open("sample_page.png").convert("RGB")

# Prompt must include <image> token
prompt = "<image> Convert this page to docling."

# Preprocess inputs
raw_inputs = processor(text=prompt, images=image, return_tensors="pt", truncation=True).to("cuda")

# Clean inputs
allowed_keys = {"input_ids", "attention_mask", "pixel_values", "decoder_input_ids"}
inputs = {k: v for k, v in raw_inputs.items() if k in allowed_keys}

# Generate
outputs = model.generate(**inputs, max_new_tokens=1024)

# Decode output
text = processor.batch_decode(outputs, skip_special_tokens=True)[0]

print("\n📄 Extracted Output:\n")
print(text)

Save with Ctrl+D.
Step 20: Run Model and Generate Output
Execute the following command to run the model:
python3.10 smoldocling_test.py


Conclusion
If you’ve followed along, you’ve just turned a scanned scientific paper into clean, structured text using a model that fits in your pocket but punches way above its weight. SmolDocling-256M-preview may be small in size, but it’s built to handle real-world document chaos — from equations and tables to layout and logic — all without requiring a monster GPU or a complicated setup. Whether you’re a researcher scraping data from journals, a dev automating invoice extraction, or just someone tired of messy OCR outputs, SmolDocling gives you exactly what you need: clarity, structure, and speed. And the best part? It’s open, fast, and runs beautifully on platforms like NodeShift Cloud. Give it a try, hook it into your next pipeline, or build a cool tool on top of it. The documents aren’t going to process themselves — but now, you’ve got a sidekick that can.


Top comments (0)
Some comments may only be visible to logged-in visitors. Sign in to view all comments.