
OpenAlpha_Evolve reimagines the future of coding with a bold proposition: what if artificial intelligence could not only generate code, but autonomously evolve it, testing, refining, and optimizing solutions with every iteration? Inspired by DeepMind’s latest breakthrough paper AlphaEvolve, this open-source Python framework brings the power of evolutionary algorithms and Large Language Models (LLMs) directly to your fingertips. For researchers seeking a robust platform for AI-driven algorithmic innovation, a developer eager to automate complex problem-solving, OpenAlpha_Evolve offers an accessible, extensible, and MIT-licensed toolkit designed to turn your ideas into reality.
In this guide, we're going to see the step-by-step installation and inference process of OpenAlpha_Evolve.
Prerequisites
The minimum system requirements for running this model are:
GPU: RTX A6000
Storage: 100GB (preferable)
VRAM: 16GB
Step-by-step process to install and run OpenAlpha_Evolve
For the purpose of this tutorial, we’ll use a GPU-powered Virtual Machine by NodeShift since it provides high compute Virtual Machines at a very affordable cost on a scale that meets GDPR, SOC2, and ISO27001 requirements. Also, it offers an intuitive and user-friendly interface, making it easier for beginners to get started with Cloud deployments. However, feel free to use any cloud provider of your choice and follow the same steps for the rest of the tutorial.
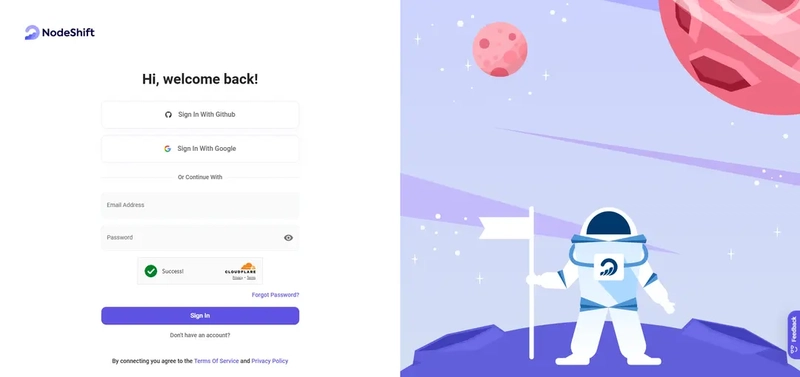
Step 1: Setting up a NodeShift Account
Visit app.nodeshift.com and create an account by filling in basic details, or continue signing up with your Google/GitHub account.
If you already have an account, https://app.nodeshift.com/sign-up straight to your dashboard.
Step 2: Create a GPU Node
After accessing your account, you should see a dashboard (see image), now:
1) Navigate to the menu on the left side.
2) Click on the GPU Nodes option.

3) Click on Start to start creating your very first GPU node.

These GPU nodes are GPU-powered virtual machines by NodeShift. These nodes are highly customizable and let you control different environmental configurations for GPUs ranging from H100s to A100s, CPUs, RAM, and storage, according to your needs.
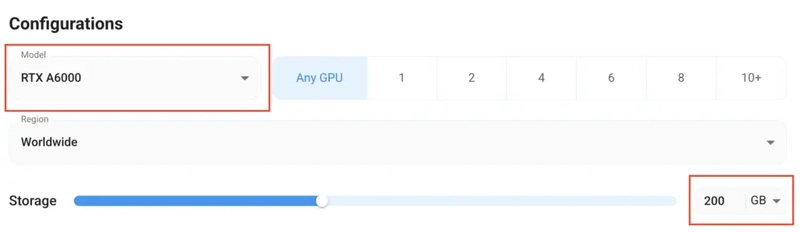
Step 3: Selecting configuration for GPU (model, region, storage)
1) For this tutorial, we’ll be using 1x RTX A6000 GPU, however, you can choose any GPU as per the prerequisites.
2) Similarly, we’ll opt for 200GB storage by sliding the bar. You can also select the region where you want your GPU to reside from the available ones.
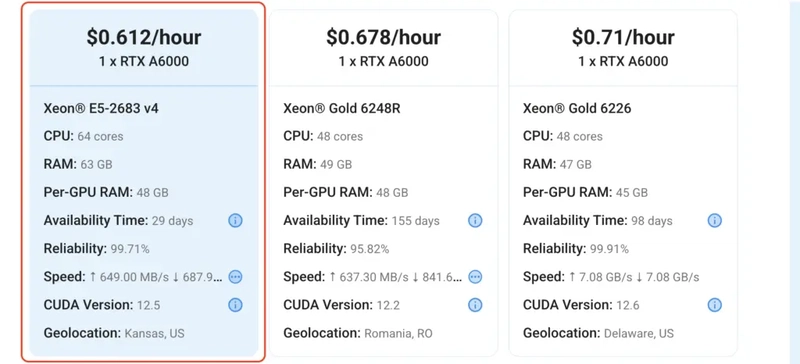
Step 4: Choose GPU Configuration and Authentication method
1) After selecting your required configuration options, you'll see the available GPU nodes in your region and according to (or very close to) your configuration. In our case, we'll choose a 1x RTX A6000 48GB GPU node with 64vCPUs/63GB RAM/200GB SSD.
2) Next, you'll need to select an authentication method. Two methods are available: Password and SSH Key. We recommend using SSH keys, as they are a more secure option. To create one, head over to our official documentation.

Step 5: Choose an Image
The final step is to choose an image for the VM, which in our case is Nvidia Cuda.

That's it! You are now ready to deploy the node. Finalize the configuration summary, and if it looks good, click Create to deploy the node.


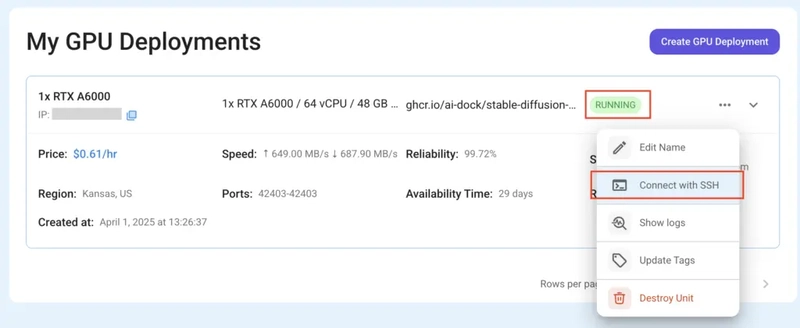
Step 6: Connect to active Compute Node using SSH
1) As soon as you create the node, it will be deployed in a few seconds or a minute. Once deployed, you will see a status Running in green, meaning that our Compute node is ready to use!
2) Once your GPU shows this status, navigate to the three dots on the right, click on Connect with SSH, and copy the SSH details that appear.
As you copy the details, follow the below steps to connect to the running GPU VM via SSH:
1) Open your terminal, paste the SSH command, and run it.
2) In some cases, your terminal may take your consent before connecting. Enter ‘yes’.
3) A prompt will request a password. Type the SSH password, and you should be connected.
Output:

Next, If you want to check the GPU details, run the following command in the terminal:
!nvidia-smi
Step 7: Set up the project environment with dependencies
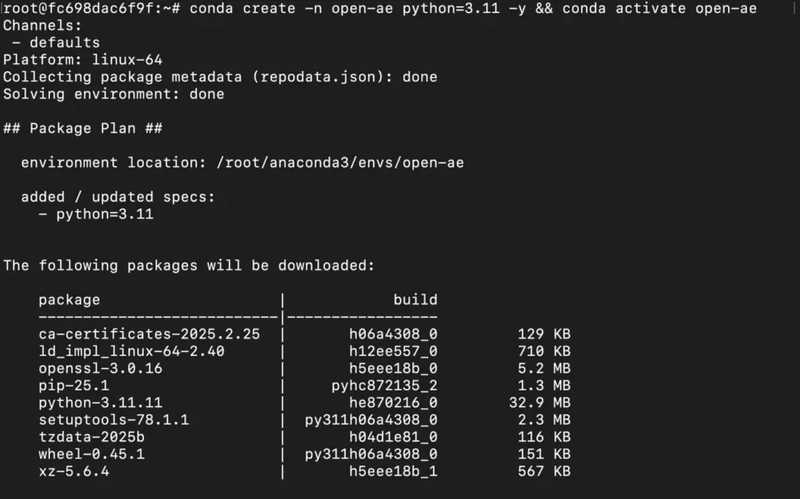
1) Create a virtual environment using Anaconda.
conda create -n open-ae python=3.11 -y && conda activate open-ae
Output:
2) Clone the official repository of Apple-FastVLM.
git clone https://github.com/shyamsaktawat/OpenAlpha_Evolve.git && cd OpenAlpha_Evolve
Output:

4) Once you're inside the project directory and run the following command to install the dependencies.
pip install -r requirements.txt
Output:

Step 8: Run the model
1) Once all the dependencies are downloaded, we'll connect our local VSCode editor to the remote server to add Gemini API key in the .env file before inference.
If you're using a GPU through a remote server (e.g., NodeShift), you can connect it to your visual studio code editor by following the steps below:
a) Install the “Remote-SSH” Extension by Microsoft on VS Code.
b) Type “Remote-SSH: Connect to Host” on the Command Palette.
c) Click on "Add a new host".
d) Enter the host details, such as username and SSH password, and you should be connected.
2) Get your Gemini API key from Google AI Studio and add it to .env file.

3) Use the given command to run inference:
python main.py
Output:

Conclusion
OpenAlpha_Evolve brings together the best of AI, enabling systems that don’t just write code, but also learn, adapt, and evolve it over time. By combining LLM-powered generation, intelligent prompt design, automated evaluation, and survival-of-the-fittest selection, it offers a modular and powerful approach to autonomous problem-solving. Running such iterative, compute-intensive workflows is seamless with NodeShift, which provides scalable, developer-friendly infrastructure tailored for AI experimentation. Whether you're training agents, managing multiple generations, or scaling inference workloads, NodeShift ensures that these advanced models runs smoothly, efficiently, and securely, so you can focus on innovation, not infrastructure.
For more information about NodeShift:


Top comments (0)