

Once you’ve installed Ollama and experimented with running models from the command line, the next logical step is to integrate these powerful AI capabilities into your Python applications. This guide will show you how to use Ollama with Python.
Setting Up
First, make sure Ollama is installed and running on your system.
You can check this other article Getting Started with Ollama: Run LLMs on Your Computer if you are no familiar with Ollama yet.
Required Ollama Models
Before running the Python examples in this guide, make sure you have the necessary models pulled. You can pull them using the Ollama CLI:
Pull the models used in these examples
ollama pull llama3.2:1b
You only need to pull these models once. Check which models you already have with:
ollama list
Creating a Virtual Environment
It’s a good practice to use a virtual environment for your Python projects. This keeps your dependencies isolated and makes your project more portable:
# Create a virtual environment

python -m venv ollama-env

# Activate the virtual environment

# On Windows:

ollama-env\Scripts\activate

# On macOS/Linux:
source ollama-env/bin/activate
Installing Dependencies
Install the Ollama Python library:
pip install ollama
Creating a requirements.txt
For better project management, create a requirements.txt file:
pip freeze > requirements.txt
To install from this file in the future:
pip install -r requirements.txt
Basic Usage
Let’s start with a simple example using the Llama 3.2 1B model.
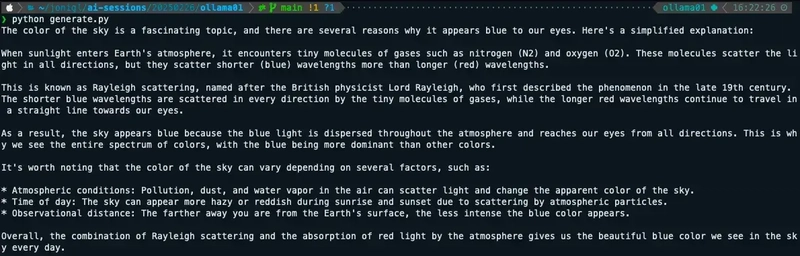
Create a file named generate.py with this content:
from ollama import generate
# Regular response
response = generate('llama3.2:1b', 'Why is the sky blue?')
print(response['response'])
This will output the model’s explanation of why the sky is blue as a complete response.
Streaming Responses
For a more interactive experience, you can get the response as it’s being generated.
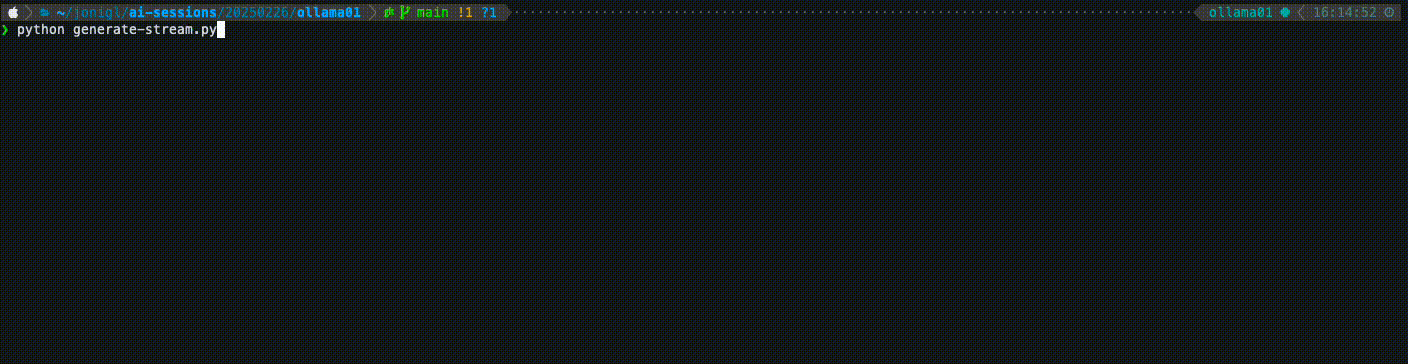
Create a file named generate-stream.py with this content:
from ollama import generate
# Streaming response
print("Streaming response:")
for chunk in generate('llama3.2:1b', 'Why is the sky blue?', stream=True):
    print(chunk['response'], end='', flush=True)
print()  # New line at the end
This displays the response incrementally as it’s generated, creating a more interactive experience.
Why for chunk in generate is used?
When you use the streaming functionality with Ollama, the response isn’t returned all at once. Instead, it’s broken into small pieces (chunks) that arrive one at a time as they’re generated by the model.
The generate() function with stream=True returns an iterator in Python. This iterator yields new chunks of text as they become available from the model. The for loop processes these chunks one by one as they arrive:
- Each chunk contains a small piece of the response in
chunk['response'] - The
end=''parameter prevents adding newlines between chunks - The
flush=Trueensures text displays immediately
This creates the effect of watching the AI “think” in real-time, similar to watching someone type.
Using System Prompts
The system prompt allows you to set context and instructions for the model before the conversation starts. It’s a powerful way to define the model’s behavior.
Create a file named chat-system-role.py with this content:
from ollama import chat

# Define a system prompt
system_prompt = "You speaks and sounds like a pirate with short sentences."
# Chat with a system prompt
response = chat('llama3.2:1b',
                messages=[
                    {'role': 'system', 'content': system_prompt},
                    {'role': 'user', 'content': 'Tell me about your boat.'}
                ])
print(response.message.content)
The system prompt stays active throughout the conversation, influencing how the model responds to all user inputs.

Conversational Context
Maintain a conversation with context using streaming for a more interactive experience.
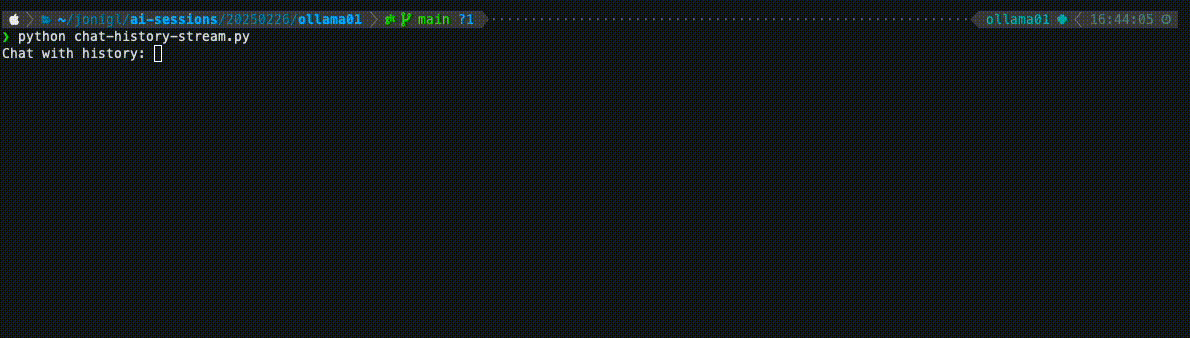
Create a file named chat-history-stream.py with this content:
from ollama import chat

# Initialize an empty message history
messages = []
while True:
    user_input = input('Chat with history: ')
    if user_input.lower() == 'exit':
        break
    # Get streaming response while maintaining conversation history
    response_content = ""
    for chunk in chat(
        'llama3.2:1b',
        messages=messages + [
            {'role': 'system', 'content': 'You are a helpful assistant. You only give a short sentence by answer.'},
            {'role': 'user', 'content': user_input},
        ],
        stream=True
    ):
        if chunk.message:
            response_chunk = chunk.message.content
            print(response_chunk, end='', flush=True)
            response_content += response_chunk
    # Add the exchange to the conversation history
    messages += [
        {'role': 'user', 'content': user_input},
        {'role': 'assistant', 'content': response_content},
    ]
    print('\n')  # Add space after response
Here you can see how this example looks like.
Conclusion
The Ollama Python library makes it easy to integrate powerful language models into your Python applications. Whether you’re building a simple script or a complex application, the library’s straightforward API allows you to focus on creating value rather than managing the underlying AI infrastructure.
As you become more comfortable with the basics, explore more advanced features and consider how you can use these capabilities to solve real-world problems in your projects.
Resources
In this GitHub repository, you'll find working code examples: GitHub Repository


Top comments (0)