This is a submission for the Pulumi Deploy and Document Challenge: Fast Static Website Deployment
What I Built
I created a Random Color Generator—a lightweight web app built with Next.js that displays a new random background color on each page load. It’s a small but fun tool for designers, developers, or anyone who loves color. It's also a great way to demonstrate deploying static websites to AWS using infrastructure as code with Pulumi.
Live Demo Link
Project Repo
🎨 Random Color Generator
A lightweight, fun static web app built with Next.js that displays a new random background color on every page load. This project also showcases how to deploy static websites to AWS using Pulumi and infrastructure as code principles.
🚀 Live Demo
📁 Project Structure
-
/app– The main Next.js app (exported as static HTML) -
Pulumi/– Infrastructure code to deploy to AWS S3 + CloudFront using Pulumi (in TypeScript)
📸 Preview
⚙️ How It Works
Each time you refresh the page, the background color changes randomly using a generateRandomColor() function in JavaScript. The app was statically exported using next export and deployed securely using AWS services via Pulumi.
🛠️ Deployment Using Pulumi
The infrastructure is defined in TypeScript and includes:
1. S3 Bucket (Private)
- Hosts the exported static site.
- Blocked public access.
- Configured using
BucketV2andBucketWebsiteConfigurationV2.
2. CloudFront Distribution
- Serves…
You’ll find:
- The full Pulumi deployment code
- Instructions on setting up the Next.js app
- A clean, minimal README to help you get started quickly
My Journey
🧪 Step 1: Let’s Build Something Simple
I started with a local Next.js project that randomly changes the background color every time the page is refreshed. I created a method called generateRandomColor to generate the random color dynamically, and the result was both playful and vibrant.
Once it looked good locally, I was ready to put it on the web.
🌐 Step 2: Hosting Static Files with AWS S3
The Next.js app was exported using next export, creating static files in the out/ directory.
To deploy these files, I used Pulumi to create an S3 bucket:
const bucket = new aws.s3.Bucket("color-bucket", {
  website: {
      indexDocument: "index.html",
  },
});
I uploaded all the files using Node’s fs module, and created s3 BucketObject for each path to deploy site assets
// for each dir we used this code
  new aws.s3.BucketObject(relativeFilePath, {
    bucket: bucket.id,
    source: new pulumi.asset.FileAsset(filePath),
    contentType: lookup(filePath) || undefined,
  });
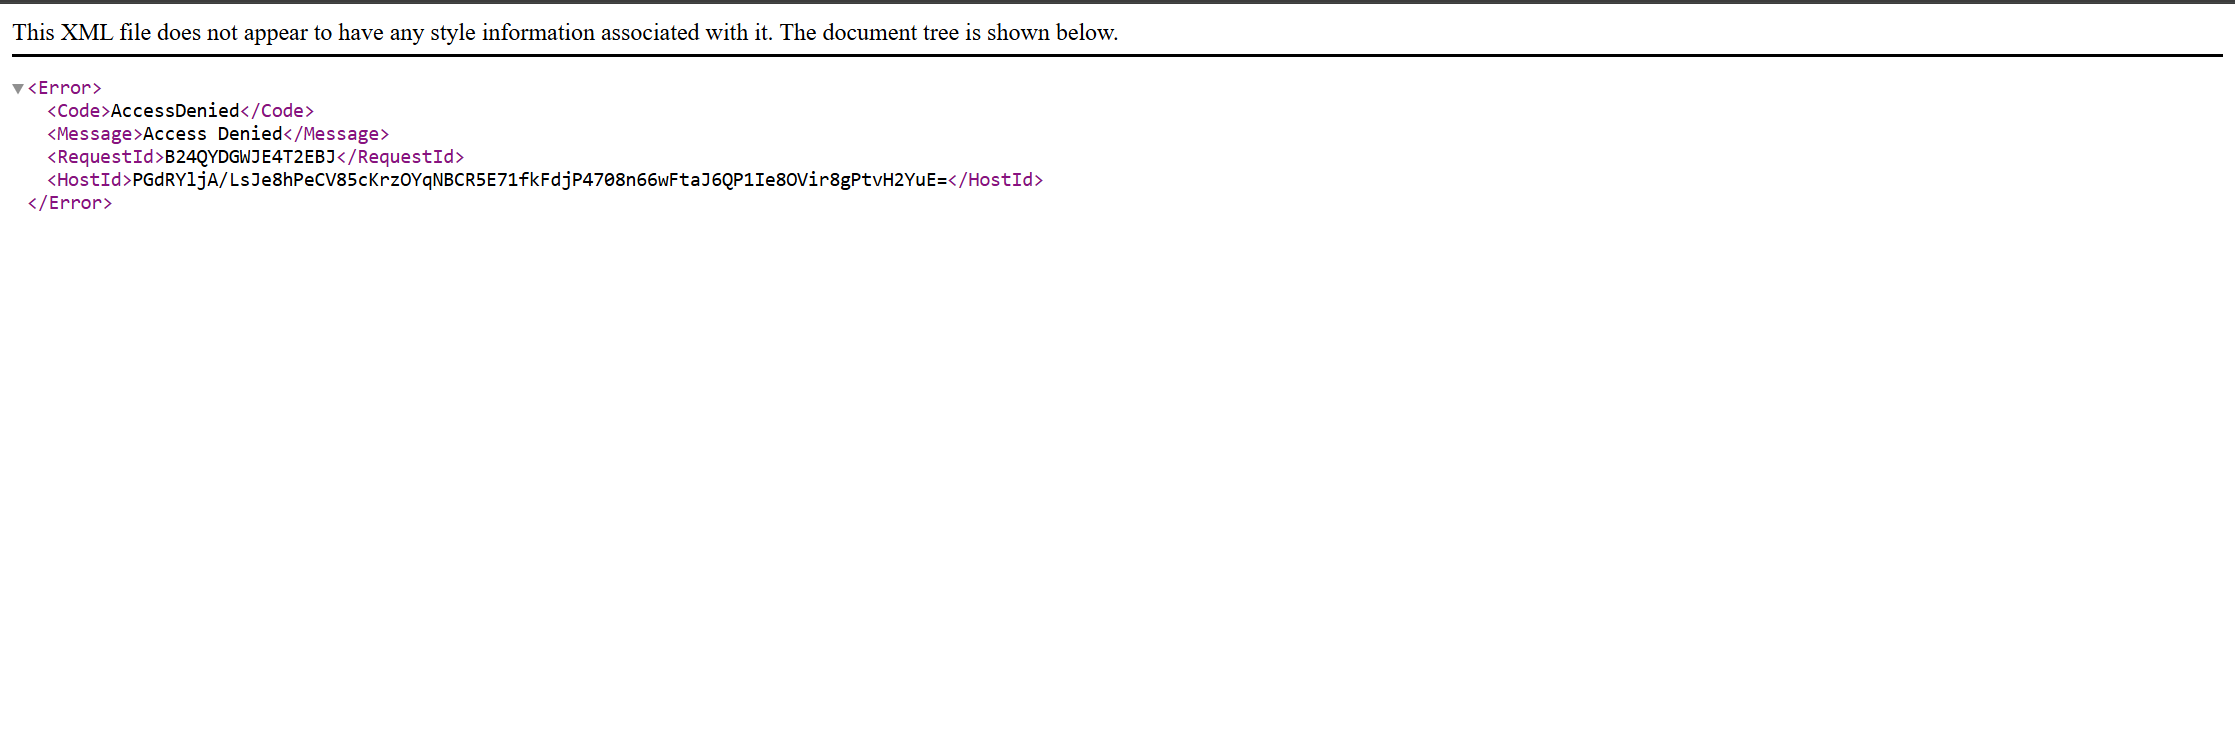
🔐 Step 3: Oh No—Access Denied?!
After uploading, I tried to open the website via the bucket endpoint—and got blocked.
S3 had blocked public access by default. I briefly made the bucket public just to test, and while it worked, I immediately realized this wasn’t secure or scalable.
🛡️ Step 4: Enter CloudFront – Secure + Fast
Instead of making the bucket public, I used CloudFront with an Origin Access Identity (OAI) to serve files securely. This way, CloudFront could fetch content from S3, and S3 remained private.
Here’s how I linked CloudFront and S3 securely:
const oai = new aws.cloudfront.OriginAccessIdentity("oai", {
  comment: "OAI for secured S3 access",
});
Then, I wrote a bucket policy granting s3:GetObject only to this OAI.
const bucketPolicy = new aws.s3.BucketPolicy("bucket-policy", {
  bucket: bucket.id,
  policy: pulumi.all([bucket.bucket, oai.iamArn]).apply(([bucketName, iamArn]) => {
    return JSON.stringify({
      Version: "2012-10-17",
      Statement: [
        {
          Effect: "Allow",
          Principal: { AWS: iamArn },
          Action: "s3:GetObject",
          Resource: `arn:aws:s3:::${bucketName}/*`,
        },
      ],
    });
  }),
});
🌍 Step 5: Create a CloudFront Distribution to Serve Your Website Globally
To deliver your static website with low latency and improved performance across the globe, we configure an AWS CloudFront distribution. CloudFront acts as a Content Delivery Network (CDN), caching your website content at edge locations.
This block sets up CloudFront to serve content securely from the S3 bucket, enforce HTTPS, cache static assets, and handle errors gracefully. The Origin Access Identity (OAI) ensures that only CloudFront (not the public internet) can access your S3 bucket content.
const cloudfrontDistribution = new aws.cloudfront.Distribution("web-distribution", {
  enabled: true,

  // Define the S3 bucket as the origin
  origins: [{
    originId: bucket.id,
    domainName: bucket.bucketRegionalDomainName,
    s3OriginConfig: {
      originAccessIdentity: oai.cloudfrontAccessIdentityPath,
    },
  }],

  // Default behavior for all requests
  defaultCacheBehavior: {
    targetOriginId: bucket.id,
    viewerProtocolPolicy: "redirect-to-https", // Enforce HTTPS
    allowedMethods: ["GET", "HEAD", "OPTIONS"],
    cachedMethods: ["GET", "HEAD", "OPTIONS"],
    forwardedValues: {
      queryString: false,
      cookies: { forward: "none" }, // Improve cacheability
    },
    minTtl: 0,
    defaultTtl: 3600,
    maxTtl: 86400,
  },

  defaultRootObject: "index.html",

  // Error responses are redirected to index.html to support clean URLs or fallback content
  customErrorResponses: [
    {
      errorCode: 403,
      responseCode: 200,
      responsePagePath: "/index.html",
    },
    {
      errorCode: 404,
      responseCode: 200,
      responsePagePath: "/index.html",
    },
  ],

  priceClass: "PriceClass_100", // Use cost-efficient edge locations
  viewerCertificate: {
    cloudfrontDefaultCertificate: true, // Use default CloudFront SSL certificate
  },

  restrictions: {
    geoRestriction: {
      restrictionType: "none", // No country-based restrictions
    },
  },
}, {
  dependsOn: [bucketPolicy], // Ensure the S3 bucket policy is in place before distribution
});
✨ Step 6: Refactoring Pulumi Static Site Deployment: From Complex to Clean with BucketV2
While exploring Pulumi for deploying a static site to AWS, I initially started by stitching together different snippets—mostly influenced by Pulumi Copilot suggestions and online examples. The deployment worked, but the code felt a bit heavy and overly complex for what was essentially a simple use case: serve a static site securely via S3 and CloudFront.
🧠 Discovery: What’s BucketV2?
While chatting with Pulumi copilot and reading deeper through Pulumi docs, I came across BucketV2 and BucketWebsiteConfigurationV2. These are part of the updated AWS S3 API and give a more modular and future-proof way to define bucket behavior, especially website settings and public access restrictions. That was the cue to start refactoring.
✅Improvements After Refactoring
- Switched to BucketV2 + BucketWebsiteConfigurationV2 Before:
const bucket = new aws.s3.Bucket(...);
bucket.website = { indexDocument: "index.html" };
After:
const bucket = new aws.s3.BucketV2("bucket", {});
const websiteConfig = new aws.s3.BucketWebsiteConfigurationV2("config", {
  bucket: bucket.id,
  indexDocument: { suffix: "index.html" },
});
🟢 Why it’s better: Clear separation of concerns. BucketV2 handles just the bucket, and the website settings are defined explicitly in BucketWebsiteConfigurationV2.
🔐 2. Tighter CloudFront + OAI Integration
The original setup required manually managing bucket policy, blocking public access, and wiring the OAI correctly—while juggling dependencies across resources.
🟢** What improved:** The refactored version keeps the OAI logic clear, makes policy assignment more predictable, and ensures the S3 bucket is accessible only through CloudFront.
📦 3. Cleaner File Upload with BucketObject
Used a recursive upload function to mirror the folder structure into the S3 bucket, without overcomplicating ACLs or dealing with public access issues.
🟢 Improvement: Now everything is private by default and securely served via CloudFront.
🧩 What I Learned
- Not all snippets are created equal. What works in isolation might not scale or feel right when put together.
- BucketV2 and friends are the way forward if you're starting a new project. They’re cleaner, more modular, and aligned with AWS’s evolving APIs.
- Understanding resource relationships (like between OAI, bucket policies, and public access blocks) is key to avoiding common pitfalls in AWS infrastructure.
This refactor was more than just cleanup—it was a learning exercise in how Pulumi encourages modular and declarative infrastructure. With a better understanding of the tools and a simpler setup, I now have a static site deployment stack that’s secure, scalable, and easy to maintain.
Using Pulumi 🛠️
As a frontend developer, I’ve mostly relied on platforms like Vercel or Netlify to deploy my sites. They’re super convenient, especially when you just want to push to Git and get a live preview. I always felt that diving into AWS directly was a bit too involved for static sites—until I discovered Pulumi.
Pulumi changed my perspective completely.
With Pulumi, I was able to define my entire infrastructure using TypeScript, the same language I use for building my frontend apps. That familiarity made it surprisingly approachable. Instead of clicking around the AWS Console or writing CloudFormation, I could write real code—loop over files, conditionally configure resources, and reuse logic just like in any other app.
Now that I understand how Pulumi works, I feel like I have the best of both worlds:
The power and flexibility of AWS,
Combined with the ease and speed of modern frontend tooling.
💬 Pulumi Copilot: The AI Teammate I Didn't Know I Needed
I also tried out Pulumi Copilot while working on this. Some of the prompts I used were:
“Deploy a static site to AWS using S3 and CloudFront with Pulumi in TypeScript.”
“How do I make sure S3 is only accessible through CloudFront?”
“How to configure custom error responses for a single page app?”
It gave me a solid foundation to start with—but I still had to refactor a lot (see above 😅). That said, it was a great assistant to explore AWS resource options and common configurations quickly.
Pulumi didn’t just help me deploy a site—it helped me understand what’s really happening under the hood. I now feel more confident using AWS, setting up secure and production-ready infrastructure, and doing it all in a repeatable, code-first way.
⏭️ What’s Next: Automating Deployment with GitHub Actions
Now that I’ve got the hang of using Pulumi manually, my next weekend goal is to fully automate the deployment process. I want to set up GitHub Actions so that every time I push to the main branch, Pulumi runs and updates the infrastructure automatically.
This would:
- Keep my stack always in sync with my latest code
- Help avoid manual errors or missed steps
- Make the project feel like a real production-grade setup
Excited to explore Pulumi's GitHub Action and see how to manage secrets, handle preview/diff steps, and maybe even set up different stacks for staging and production down the line.


Top comments (0)