
Introduction
In today’s guide (Day-27), we’ll walk through the complete process of setting up your own IoT-based pet feeder using a Raspberry Pi. Our goal is to automate the feeding process using a servo motor, Python, and scheduled cron jobs.
🎯 Objective
Set up a Raspberry Pi-powered automated pet feeder that runs a Python script to control a servo motor — scheduled to feed your cat daily.
📚 Table of Contents (Day-27)
- 💾 Flashing Raspberry Pi OS to SD Card
- 🔐 Enabling SSH Access
- 📶 (Optional) Configure Wi-Fi for Headless Boot
- 🔌 Booting the Raspberry Pi
- 🌐 Detecting Raspberry Pi on Local Network
- 🛜 Attempting SSH Access
- 🧠 Verifying SSH Setup Again
- 🖥️ Tried Accessing via Hostname
- 📌 Diagnosis
- ✅ Final Status (Day-27 Recap)
🐱 Step-by-Step Setup Guide
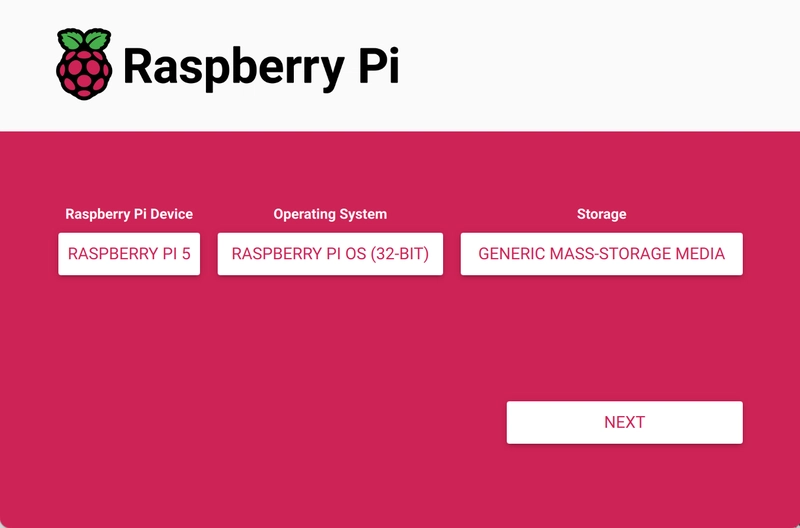
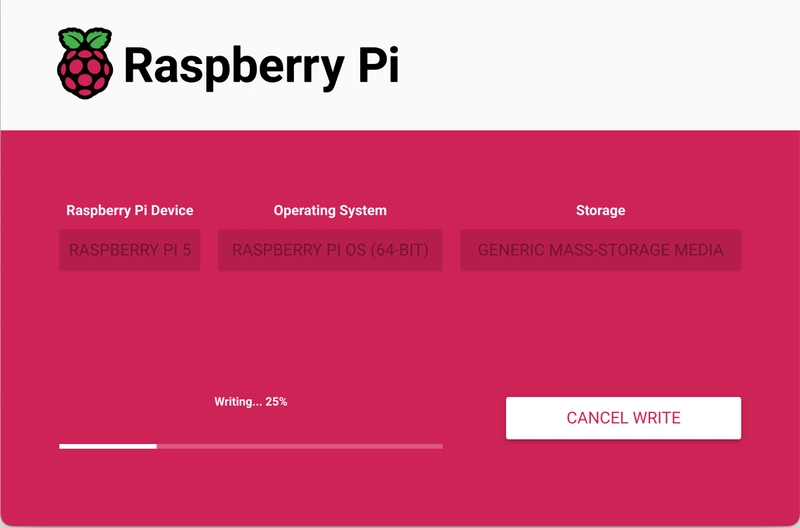
1. Flashing Raspberry Pi OS to SD Card
- Download Raspberry Pi OS (Lite) from the official website.
- Use Raspberry Pi Imager or Balena Etcher to flash it to a microSD card (32GB in our case).
Tool Used: Raspberry Pi Imager
Card Size: 32GB microSD
Status   : ✅ OS flashed and verified

2. Enabling SSH Access
Inserted SD card into MacBook → Mounted as:

Created the SSH file in boot partition:
![]()
✅ SSH enabled successfully for headless access.
3. (Optional) Configure Wi-Fi for Headless Boot
Created wpa_supplicant.conf inside the boot partition (optional if using Ethernet):

💡 Replaced with real credentials, saved and ejected the SD card.
4. Booting the Raspberry Pi
- Inserted the SD card into Raspberry Pi
- Powered on via USB-C
- Waited ~2 minutes for the OS to boot

✅ Expected: Pi should connect to local network (via Wi-Fi or Ethernet)
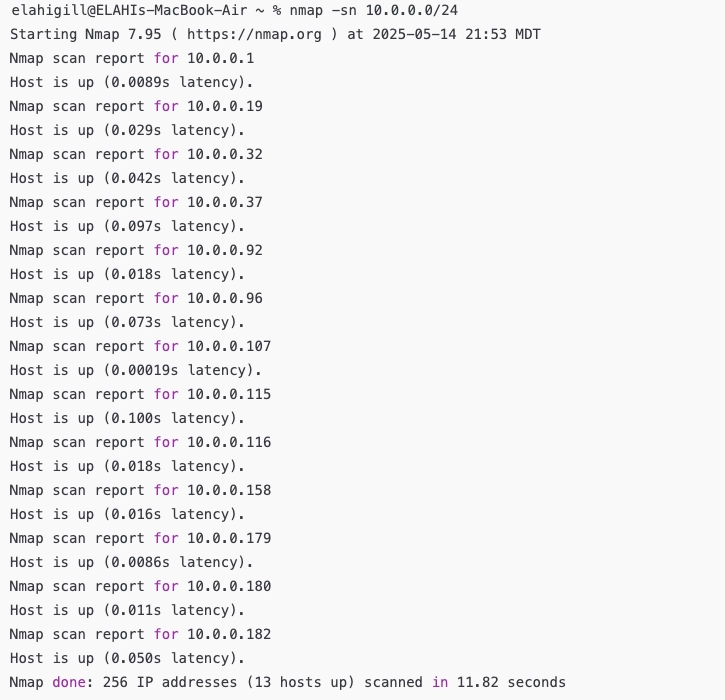
5. Detecting Raspberry Pi on Local Network
Ran a network scan and see the 🖥️ Output (Filtered):
6. Attempting SSH Access
Tried to connect But ❌ Error:

7. Verifying SSH Setup Again
- Reinserted SD card into Mac
- Confirmed
sshfile still exists in/Volumes/bootfs - Reinserted back into Pi and rebooted
Still, SSH failed. Possibly:
- SSH service didn’t start properly
- Raspberry Pi didn’t boot fully
- Network issue
8. Tried Accessing via Hostname
But ❌ Error:

🔍 9.Diagnosis:
-
.localresolution via mDNS might be missing on Mac - Or Raspberry Pi never fully booted
📌 10. Final Status (Day-27 Recap)
| Task | Status |
|---|---|
| SD Card flashed | ✅ Done |
| SSH file added | ✅ Done |
| Wi-Fi config (optional) | ✅ Skipped or Done |
| Booted Pi | ✅ Boot attempted |
Detected IP via nmap
|
✅ Partial |
| SSH connection established | ❌ Failed |
Hostname access (.local) |
❌ Failed |
| Next: Servo wiring + script | 🔜 Pending |
🔜 Coming Up: Day-28
In the next post, we’ll troubleshoot Raspberry Pi SSH issues step-by-step, verify if the OS is booting correctly, and check if the SSH service is running. Once resolved, we’ll test the Python servo script and complete our cat feeder automation.
#30DaysLinuxChallenge #CloudWhisler
#DevOps #Linux #RHCSA #Opensource #AWS #CloudComputing
Catch out by My LinkedIn profile
https://www.linkedin.com/in/rajpreet-gill-4569b4161/


Top comments (0)