
Introduction
Deploying Lambda functions with large dependencies can be frustrating—especially when you bump into the strict 250MB layer limit. But there’s a workaround: containerized deployment.
In this guide, we will walk through deploying a Lambda function using Docker images, bypassing size restrictions while keeping setup simple. No advanced AWS knowledge required—just a step-by-step approach to get you up and running.
Requirements
- Docker
- AWS CLI
- VS Code
Creating src and main.py
Create a folder by running the command
mkdir [folder-name]
cd into the new folder:
cd [folder-name]

- Create source folder(src)in the root folder that will house your python file by running the following command:
mkdir src
and cd into it to create your python file.
- I named it main.py in my case but it can be any name.
 We will use a basic Lambda handler for this example, it logs the event/context details and responds with 'Hello world'.
import logging

logging.basicConfig(level=logging.INFO, force=True)
logger = logging.getLogger(__name__)

def handler(event, context):
    logger.info(f"Received event\n{event}")
    logger.info(f"Received context\n{context}")

    return "Hello world"
Creating Dockerfile
- Next is to create Dockerfile at the root folder by running the command
mkdir Dockerfile
We are using AWS's Python base image. For other languages, see AWS's documentation on Lambda base images.
# Step 1: Pull the base image
FROM public.ecr.aws/lambda/python:3.10

# Step 2: Copy requirements.txt
COPY ./requirements.txt ${LAMBDA_TASK_ROOT}

# Step 3: Install the specified packages
RUN pip install -r requirements.txt

# Step 4: Copy function code
COPY ./src ${LAMBDA_TASK_ROOT}

# Step 5: Set the CMD to your handler
CMD [ "main.handler" ]

Ensure that your file path is accurate.

Creating Elastic Container Registry
- Head over to your AWS console to create ECR to house your container image.
- Search for ECR and select Elastic Container Registry

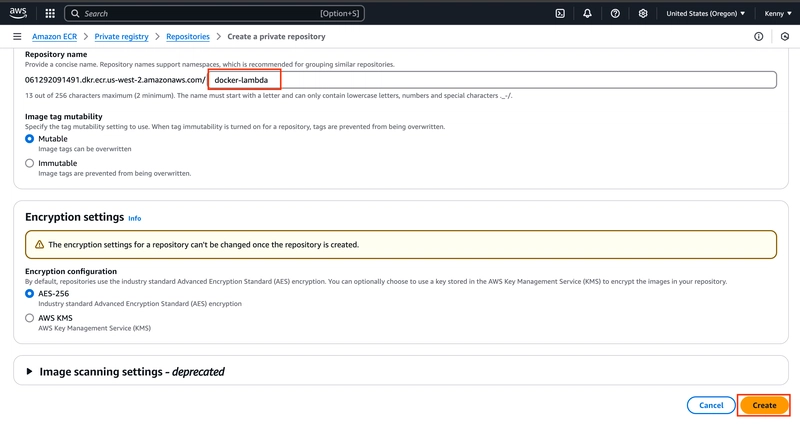
- Click create a repository.

- Choose a name for your repository, leave other settings as default and click create.

- Open the newly created repository and select view push commands

- It will open up the command to build and push your image to your ECR.

Build and Push docker image
- Copy the first command and run it at the root level in VS Code

- Copy and run the second command to build your docker image

- Next is to copy the third command to tag the image

- Finally copy the last command to push the image to ECR
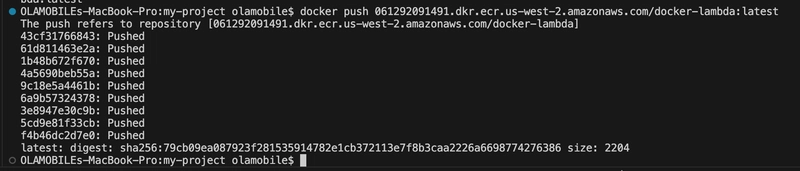
- You can confirm that the image has been pushed by refreshing your ECR page.

Creating Lambda function
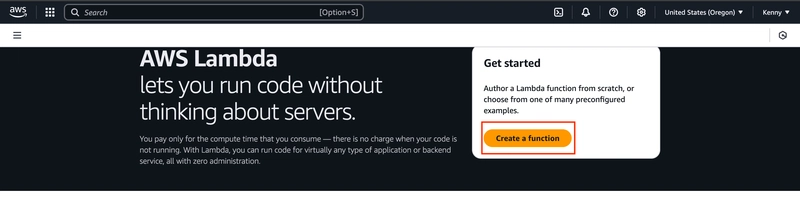
- We need to create a lambda by searching for lambda function and select lambda.

- Click create a function
- Choose container image option, give a name to your function, copy and paster the URI of your image and click create.


Test your function
- Test your function to see if it is working. Click on the Test tab and select Test.

 Now you can customize the handler in ./src/main.py and add required dependencies to ./requirements.txt for your specific use case.
Thanks for staying till the end


Top comments (0)