

Parakeet-TDT 0.6B V2 is a high-performance speech-to-text model developed by NVIDIA for English audio transcription. Built on the FastConformer architecture with a TDT decoder, it’s designed to handle long-form speech (up to 24 minutes) while preserving punctuation, capitalization, and accurate word-level timestamps. Whether you’re transcribing conversations, meetings, or spoken content with background noise, this model delivers fast and reliable results — making it a powerful tool for developers, researchers, and transcription workflows. It supports .wav and .flac formats and is fully optimized for GPU acceleration.
Resource
Hugging Face
Link: https://huggingface.co/nvidia/parakeet-tdt-0.6b-v2

Minimum (Lightweight) Setup for Inference Only:
- GPU: NVIDIA T4 (16 GB VRAM)
- vCPUs: 8+
- RAM: 16 GB
- Disk: 30–40 GB
- Works for shorter audio (<10 mins) and lower concurrency
Tested GPU Models:
- A6000 (what you’re currently using — excellent)
- A100, H100 (overkill, blazing fast)
- L4, T4 (okay for smaller inference jobs)
- CPU-only: Not recommended due to heavy inference load and slow RTFx.
Step-by-Step Process to Install NVIDIA Parakeet TDT 0.6B V2 Locally
For the purpose of this tutorial, we will use a GPU-powered Virtual Machine offered by NodeShift; however, you can replicate the same steps with any other cloud provider of your choice. NodeShift provides the most affordable Virtual Machines at a scale that meets GDPR, SOC2, and ISO27001 requirements.
Step 1: Sign Up and Set Up a NodeShift Cloud Account
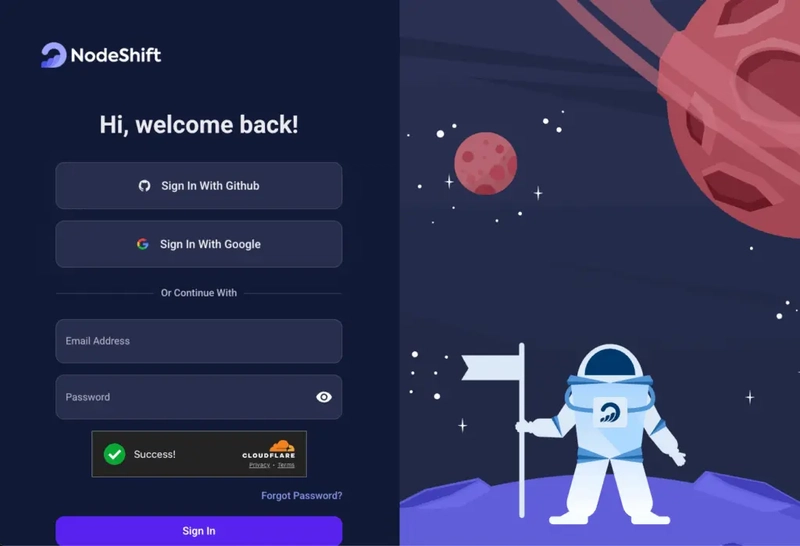
Visit the NodeShift Platform and create an account. Once you’ve signed up, log into your account.
Follow the account setup process and provide the necessary details and information.
Step 2: Create a GPU Node (Virtual Machine)
GPU Nodes are NodeShift’s GPU Virtual Machines, on-demand resources equipped with diverse GPUs ranging from H100s to A100s. These GPU-powered VMs provide enhanced environmental control, allowing configuration adjustments for GPUs, CPUs, RAM, and Storage based on specific requirements.


Navigate to the menu on the left side. Select the GPU Nodes option, create a GPU Node in the Dashboard, click the Create GPU Node button, and create your first Virtual Machine deploy
Step 3: Select a Model, Region, and Storage
In the “GPU Nodes” tab, select a GPU Model and Storage according to your needs and the geographical region where you want to launch your model.

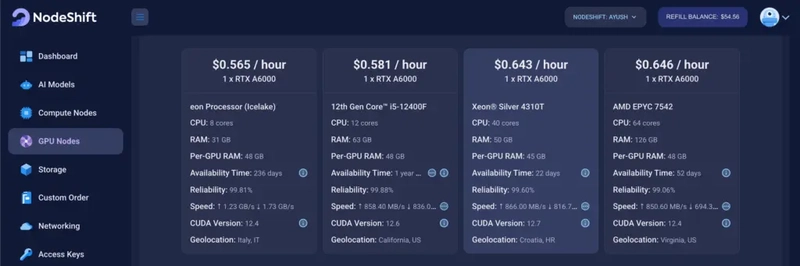
We will use 1 x RTX A6000 GPU for this tutorial to achieve the fastest performance. However, you can choose a more affordable GPU with less VRAM if that better suits your requirements.
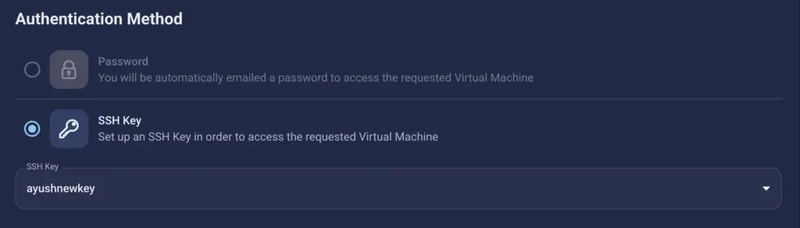
Step 4: Select Authentication Method
There are two authentication methods available: Password and SSH Key. SSH keys are a more secure option. To create them, please refer to our official documentation.
Step 5: Choose an Image
Next, you will need to choose an image for your Virtual Machine. We will deploy NVIDIA Parakeet TDT on an NVIDIA Cuda Virtual Machine. This proprietary, closed-source parallel computing platform will allow you to install NVIDIA Parakeet TDT on your GPU Node.
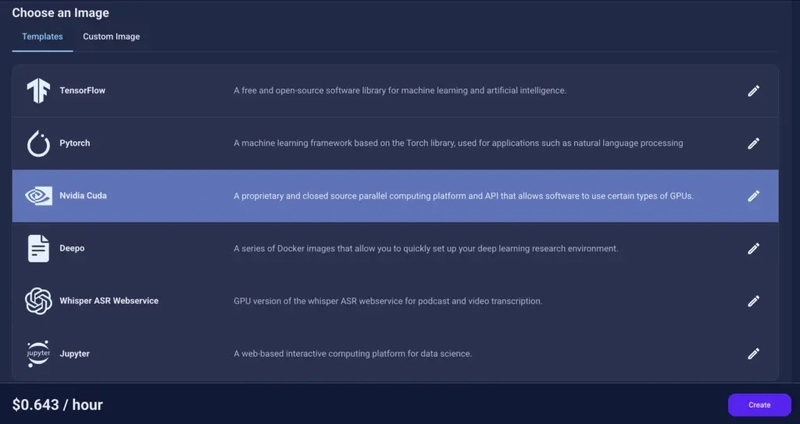
After choosing the image, click the ‘Create’ button, and your Virtual Machine will be deployed.

Step 6: Virtual Machine Successfully Deployed
You will get visual confirmation that your node is up and running.

Step 7: Connect to GPUs using SSH
NodeShift GPUs can be connected to and controlled through a terminal using the SSH key provided during GPU creation.
Once your GPU Node deployment is successfully created and has reached the ‘RUNNING’ status, you can navigate to the page of your GPU Deployment Instance. Then, click the ‘Connect’ button in the top right corner.


Now open your terminal and paste the proxy SSH IP or direct SSH IP.

Next, if you want to check the GPU details, run the command below:
nvidia-smi

Step 8: Check the Available Python version and Install the new version
Run the following commands to check the available Python version.
If you check the version of the python, system has Python 3.8.1 available by default. To install a higher version of Python, you’ll need to use the deadsnakes PPA.
Run the following commands to add the deadsnakes PPA:
sudo apt update

sudo apt install -y software-properties-common

sudo add-apt-repository -y ppa:deadsnakes/ppa

sudo apt update

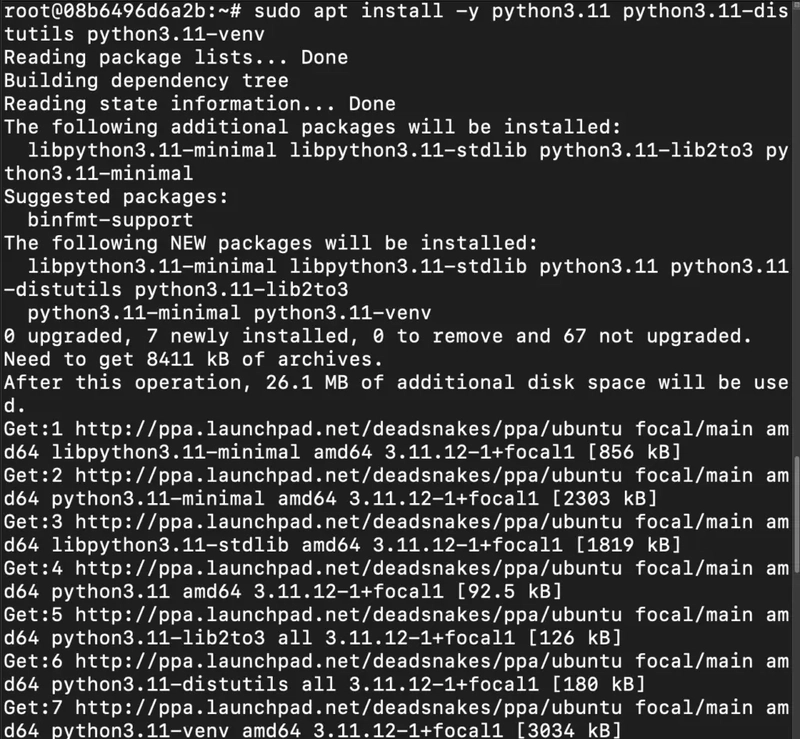
Step 9: Install Python 3.11
Now, run the following command to install Python 3.11 or another desired version:
sudo apt install -y python3.11 python3.11-distutils python3.11-venv
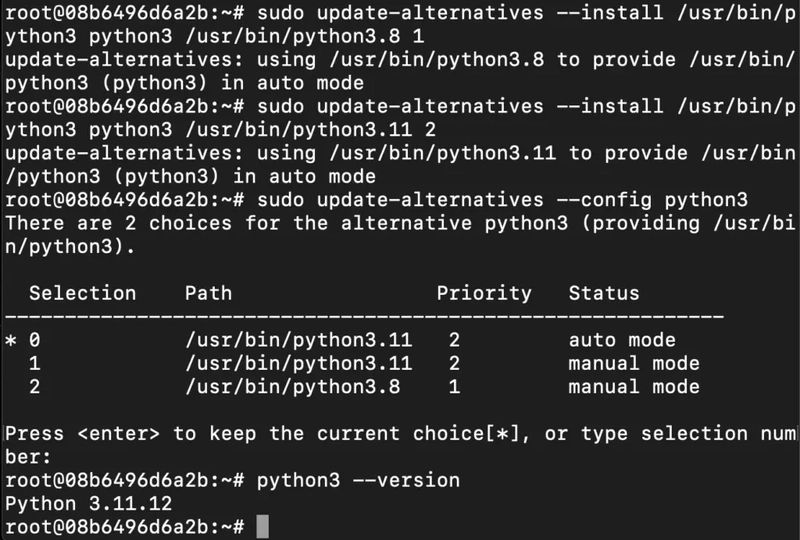
Step 10: Update the Default Python3 Version
Now, run the following command to link the new Python version as the default python3:
sudo update-alternatives --install /usr/bin/python3 python3 /usr/bin/python3.8 1

sudo update-alternatives --install /usr/bin/python3 python3 /usr/bin/python3.11 2

sudo update-alternatives --config python3
Then, run the following command to verify that the new Python version is active:
python3 --version
Step 11: Install and Update Pip
Run the following command to install and update the pip:
python3 -m ensurepip --upgrade

python3 -m pip install --upgrade pip
Then, run the following command to check the version of pip:
pip --version

Step 12: Update and Install Basic Dependencies
Run the following command to install and update basic dependencies:
sudo apt update && sudo apt upgrade -y

sudo apt install -y build-essential git wget curl ffmpeg


Step 13: Install Miniconda (Recommended for NeMo)
Run the following command to install miniconda:
wget https://repo.anaconda.com/miniconda/Miniconda3-latest-Linux-x86_64.sh

bash Miniconda3-latest-Linux-x86_64.sh

source ~/.bashrc

Step 14: Initialize Conda for Bash
Run the following command to initialize conda for bash:
eval "$(/root/miniconda3/bin/conda shell.bash hook)"
Then, run the following command to verify the version of conda:
conda --version

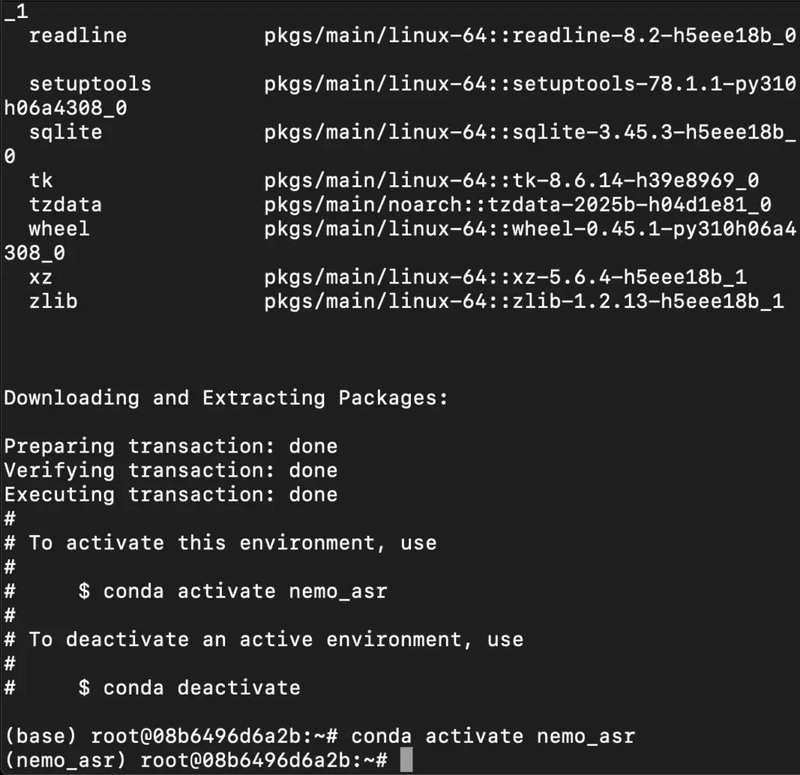
Step 15: Create and Activate a new Environment
Run the following command to create and activate a new environment:
conda create -n nemo_asr python=3.10 -y

conda activate nemo_asr

Step 16: Install PyTorch with CUDA Support
Run the following command to install Pytorch with CUDA support:
pip install torch torchvision torchaudio --index-url https://download.pytorch.org/whl/cu118

Step 17: Install NeMo Toolkit for ASR
Run the following command to install NeMo toolkit for ASR:
pip install -U nemo_toolkit[asr]

Step 18: Download a Sample Audio File
Run the following command to download a simple audio file:
wget https://dldata-public.s3.us-east-2.amazonaws.com/2086-149220-0033.wav

Step 19: Run the Pre-trained Model
Open Python:
python3
Run the following code Inside the Python shell:
`import nemo.collections.asr as nemo_asr
asr_model = nemo_asr.models.ASRModel.from_pretrained(model_name="nvidia/parakeet-tdt-0.6b-v2")
output = asr_model.transcribe(['2086-149220-0033.wav'])
print(output[0].text)
`


Step-by-Step to Run Parakeet TDT 0.6B in Browser using Gradio
Step 1: Install Dependencies (Python Environment)
Run the following command to install dependencies:
pip install torch torchvision torchaudio --index-url https://download.pytorch.org/whl/cu118

pip install -U nemo_toolkit[asr] gradio


Step 2: Install nano (Recommended)
Run the following command to install nano:
sudo apt update && sudo apt install -y nano

Step 3: Create the Python3 File
Run the following command to create the Python3 file:
nano parakeet_ui.py

After this, paste the following code in the nano editor:
import gradio as gr
import nemo.collections.asr as nemo_asr

# Load model once
asr_model = nemo_asr.models.ASRModel.from_pretrained(model_name="nvidia/parakeet-tdt-0.6b-v2")

def transcribe_audio(audio, timestamps=False):
    if audio is None:
        return "Please upload a valid audio file."

    output = asr_model.transcribe([audio], timestamps=timestamps)

    if timestamps:
        segments = output[0].timestamp['segment']
        result = ""
        for seg in segments:
            result += f"{seg['start']}s - {seg['end']}s: {seg['segment']}\n"
        return result
    else:
        return output[0].text

# Build the UI
with gr.Blocks() as demo:
    gr.Markdown("# 🎙️ Parakeet-TDT-0.6B Speech to Text Demo")

    with gr.Row():
        audio_input = gr.Audio(type="filepath", label="Upload Audio (16kHz .wav preferred)")

    with gr.Row():
        timestamp_checkbox = gr.Checkbox(label="Enable Timestamps", value=False)

    with gr.Row():
        output_text = gr.Textbox(label="Transcription Output", lines=10)

    submit_btn = gr.Button("Transcribe")

    submit_btn.click(fn=transcribe_audio, inputs=[audio_input, timestamp_checkbox], outputs=output_text)

# Launch the UI
demo.launch(server_name="0.0.0.0", server_port=7860)
After Pasting:
- Press Ctrl + O → Enter to save
- Then Ctrl + X to exit

Step 4: Run Gradio Web App
Execute the following command to run the gradio web app:
python3 parakeet_ui.py


Step 5: Run SSH Port Forwarding Command to access the Gradio Web App
Run the following command to access the Gradio web app (or any other port from your VM) on your local machine:
ssh -L 7860:localhost:7860 root@116.127.115.18 -p 26052

Step 6: Access the Gradio Web App
Access the Gradio Web App on:
Running on local URL: http://localhost:7860


Conclusion
NVIDIA’s Parakeet-TDT 0.6B V2 brings reliable, accurate, and timestamped speech-to-text capabilities to any developer’s toolkit. With a simple setup on a GPU-powered virtual machine, you can start transcribing long-form audio with precision — whether it’s a conversation, a lecture, or noisy field recordings. Thanks to its optimization for modern GPUs and full support for punctuation and word-level alignment, this model is ready for real-world applications. If you’re building voice interfaces, transcription tools, or subtitle systems, Parakeet-TDT 0.6B V2 is a dependable, production-ready choice.


Top comments (0)