
Hello there data enthusiasts. Today's guide walks you through building a complete data pipeline using Apache Airflow. Apache Airflow is an open-source platform designed to programmatically author, schedule, and monitor workflows. A workflow—such as an ETL process, machine learning pipeline, or reporting task—is a directed sequence of dependent tasks that transforms raw data into valuable output. In this article, we’ll cover setting up WSL (for Windows users), installing PostgreSQL via the terminal, setting up and configuring Apache Airflow, and creating your first DAG (a Python-defined graph representing the workflow). We’ll conclude by executing the DAG and observing it in action. So buckle up and lets dive in:
Installation WSL
We'll begin by installing the Windows Subsystem for Linux (WSL), which allows Windows users to run a native Linux environment directly on Windows—ideal for working with tools like Apache Airflow.
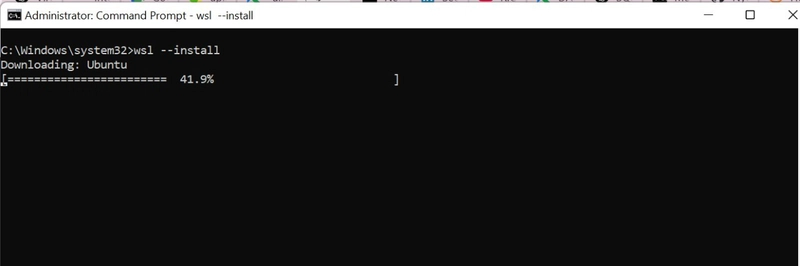
Step 1: Open PowerShell as Administrator
wsl --install
This command installs WSL 2 as the default with the latest Ubuntu distribution and required kernel updates. Restart your machine if prompted.
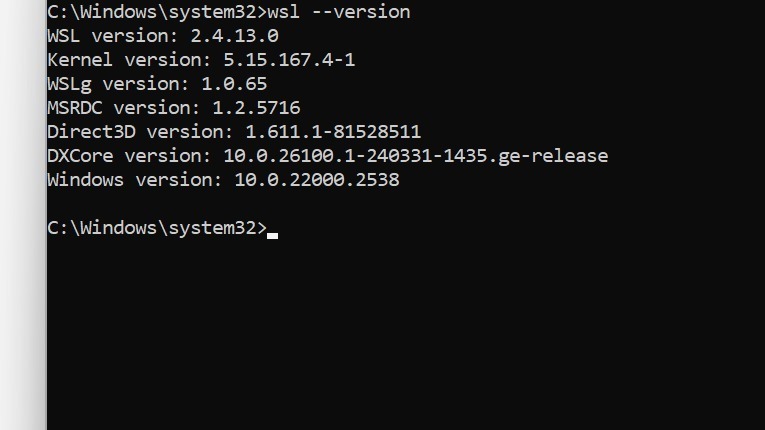
Step 2: Verify Installation
wsl --version
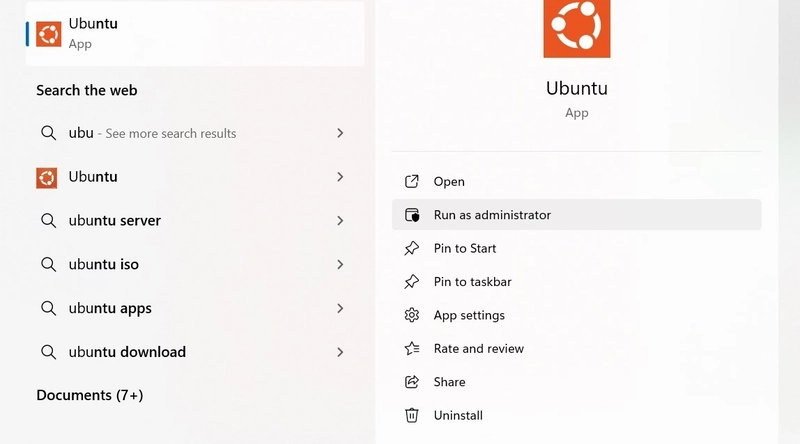
Step 3: Launch Ubuntu
Search for Ubuntu in the Start menu, launch it, and set up your UNIX username and password.
From here, all commands in this guide will be run from within the Ubuntu terminal which is native for all linux users and we have just configured it for windows users.
Setting up Postgresql
After successfully setting up your ubuntu account, lets proceed to setting up postgresql that will serve as the metadata database for Apache Airflow—storing DAG states, task history, logs, and configurations
Step 1: Update package lists
sudo apt update
Step 2: Install Postgresql
sudo apt install postgresql postgresql-contrib
Step 3: Start the PostgreSQL Service
sudo service postgresql start
# Check whether postgresql is running
sudo service postgresql status
Step 4: Access the PostgreSQL Shell
sudo -i -u postgres
psql
You should see postgres#.
Step 5: Create Airflow Database and User
CREATE DATABASE airflow;
CREATE USER airflow WITH PASSWORD 'airflowpass';
GRANT ALL PRIVILEGES ON DATABASE airflow TO airflow;
\q
Setting up Apache Airflow
Download python to your environment
sudo apt install python3 python3-venv python3-pip
Step 1: Create and Activate a Virtual Environment
python3.10 -m venv airflow_env #make sure the python version is between 3.7 and 3.11
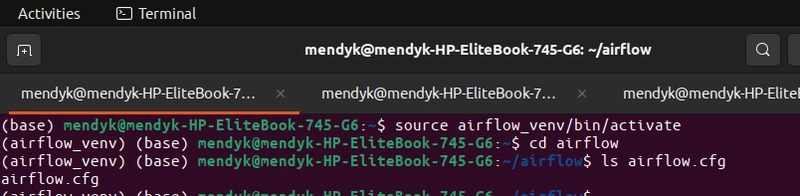
source airflow_env/bin/activate
N/B: Always activate your virtual environment when starting apache airflow.
Step 2: Set Environment Variables for Airflow
export AIRFLOW_HOME=~/airflow
export AIRFLOW__CORE__SQL_ALCHEMY_CONN='postgresql+psycopg2://airflow:airflowpass@localhost:5432/airflow'
Replace 'airflowpass' with your actual password if different.
Step 3: Install Apache Airflow with PostgreSQL Support
export AIRFLOW_VERSION=2.8.1
export PYTHON_VERSION="$(python3 --version | cut -d " " -f 2 | cut -d "." -f 1,2)"
export CONSTRAINT_URL="https://raw.githubusercontent.com/apache/airflow/constraints-${AIRFLOW_VERSION}/constraints-${PYTHON_VERSION}.txt"

pip install "apache-airflow[postgres]==${AIRFLOW_VERSION}" --constraint "${CONSTRAINT_URL}"
Step 4: Initialize the Airflow Database
airflow db init
N/B: This command is only used during after fresh install of Apache airflow or when you create a new environment for Apache airflow.
Step 5: Create Admin User
airflow users create \
    --username admin \
    --firstname Admin \
    --lastname User \
    --role Admin \
    --email admin@example.com
Step 6: Start Webserver and Scheduler
Open another ubuntu terminal instance and add:
airflow webserver --port 8080
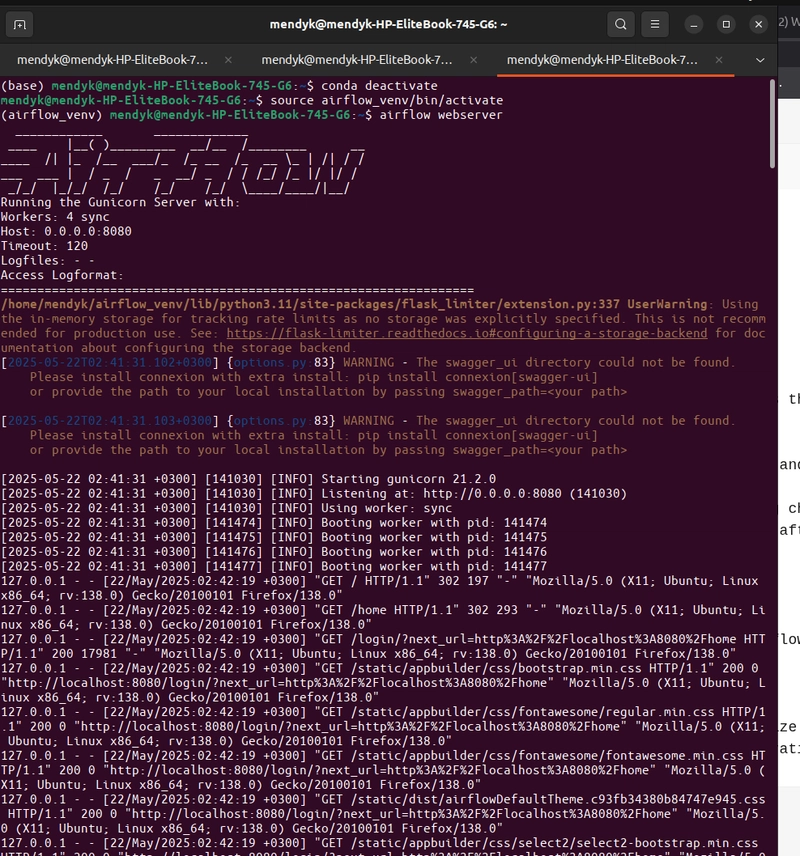
airflow scheduler

N/B: Always restart the scheduler after making changes to the dag .py files or after rebooting your device or after killing the terminal instance.
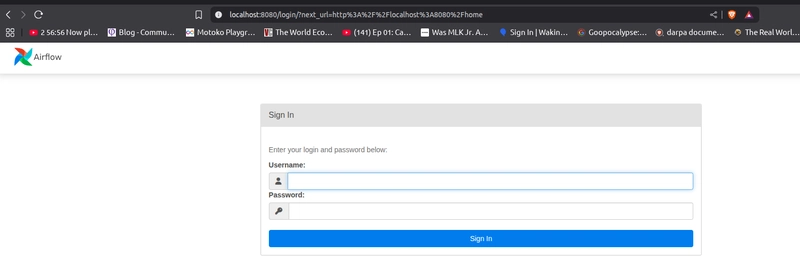
Step 7: Access the Airflow UI
Open your browser and go to: http://localhost:8080
Proper Configuration of Airflow
Before we create our first DAGs, we need to optimize apache airflow for performance by confirming some of its configurations.
Step 1: Editing the airflow.cfg file
source airflow_env/bin/activate
cd airflow
ls airflow.cfg
Now edit the file using nano:
nano airflow.cfg
-
default_timezone
default_timezone = Africa/Nairobi -
executor
executor = LocalExecutor -
load_examples
load_examples = False -
sql_alchemy_conn
sql_alchemy_conn = postgresql+psycopg2://postgres:<password>@localhost:5432/postgres
To save: ctrl + x, press y, press enter.
Step 2: Creating a dags folder
mkdir dags
cd dags
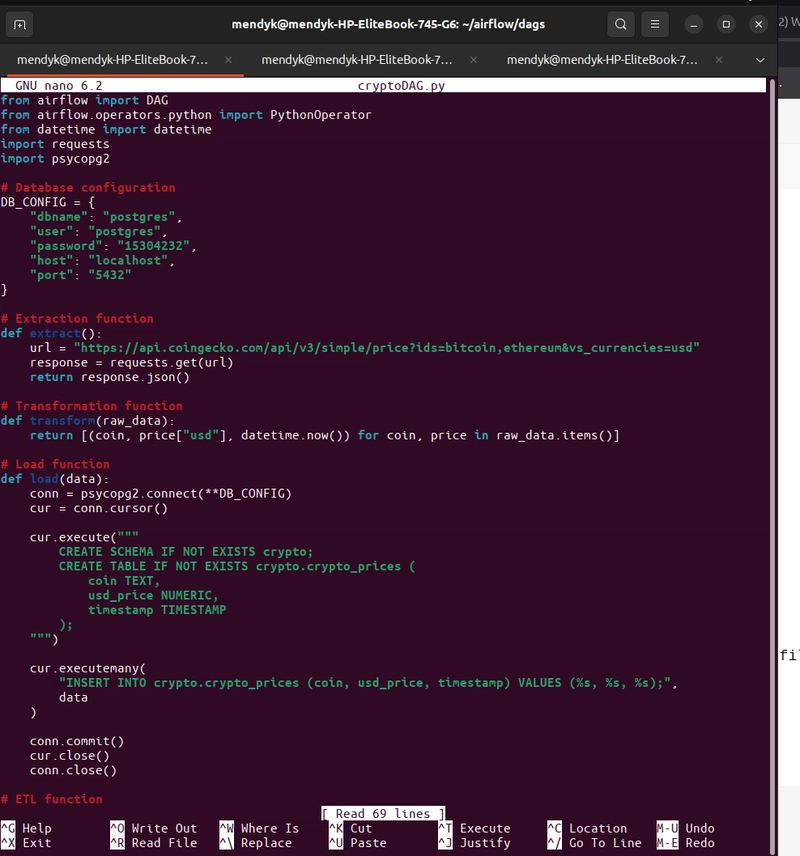
touch DAG.py
Open VS Code and paste the following into DAG.py:
from airflow import DAG
from airflow.operators.python import PythonOperator
from datetime import datetime
import requests
import psycopg2

DB_CONFIG = {
    "dbname": "postgres",
    "user": "postgres",
    "password": "15304232",
    "host": "localhost",
    "port": "5432"
}

def extract():
    url = "https://api.coingecko.com/api/v3/simple/price?ids=bitcoin,ethereum&vs_currencies=usd"
    response = requests.get(url)
    return response.json()

def transform(raw_data):
    return [(coin, price["usd"], datetime.now()) for coin, price in raw_data.items()]

def load(data):
    conn = psycopg2.connect(**DB_CONFIG)
    cur = conn.cursor()
    cur.execute("""
        CREATE SCHEMA IF NOT EXISTS crypto;
        CREATE TABLE IF NOT EXISTS crypto.crypto_prices (
            coin TEXT,
            usd_price NUMERIC,
            timestamp TIMESTAMP
        );
    """)
    cur.executemany(
        "INSERT INTO crypto.crypto_prices (coin, usd_price, timestamp) VALUES (%s, %s, %s);",
        data
    )
    conn.commit()
    cur.close()
    conn.close()

def etl():
    raw = extract()
    clean = transform(raw)
    load(clean)

with DAG(
    dag_id="simple_coingecko_etl",
    start_date=datetime(2023, 1, 1),
    schedule_interval="@hourly",
    catchup=False
) as dag:

    run_etl = PythonOperator(
        task_id="run_etl",
        python_callable=etl
    )

    run_etl
N/B: Make sure you have the correct connection strings.
DB_CONFIG = {
    "dbname": "postgres",
    "user": "postgres",
    "password": "your_password",
    "host": "localhost",
    "port": "5432"
}
Step 3: Open the file DAG.py
nano DAG.py
Paste the contents from VS Code.
N/B: After the configuration, make sure you restart the scheduler.
Airflow UI configuration
Refresh the tab hosted locally at: http://localhost:8080
Log in using the credentials created earlier.

If your DAG is working correctly, you should see:

Confirm on DBeaver that the database is created and tables are loading
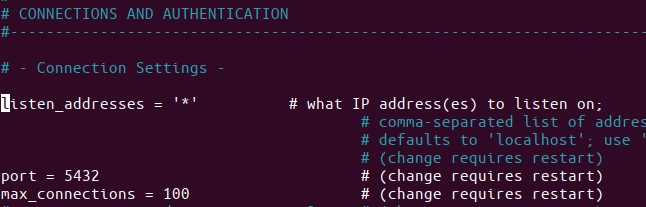
Before checking on DBeaver, edit the postgresql.conf file:
sudo nano /etc/postgresql/<your_postgresversion>/main/postgresql.conf
Change:
listen_addresses = '*'
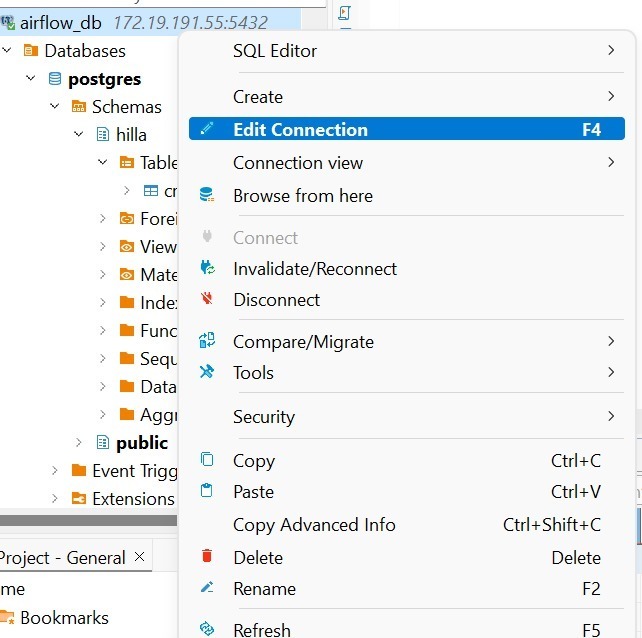
Edit the connection in DBeaver:
Enter your database info and test the connection.
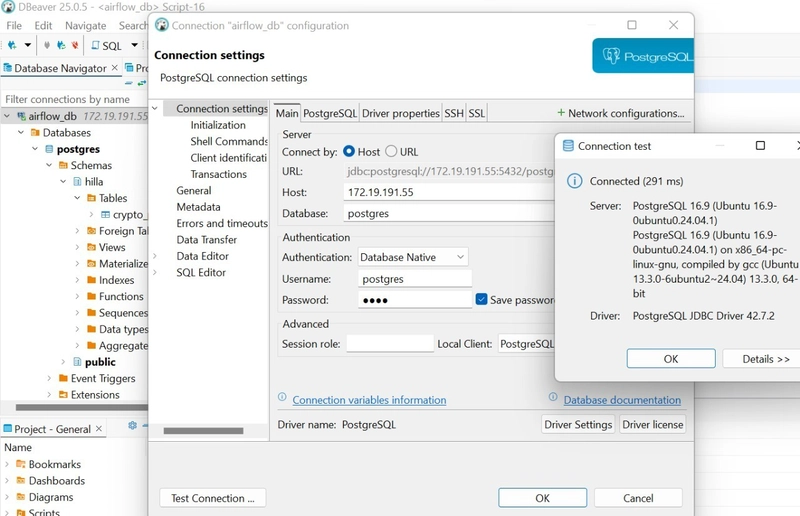
To know your host name:
hostname -I

Its been a long and bumpy article but I hope it was helpful. Feel free to leave a comment and add insights to help me improve on the article.
That's all for now and let's keep it data. Bye for now!


Top comments (0)