
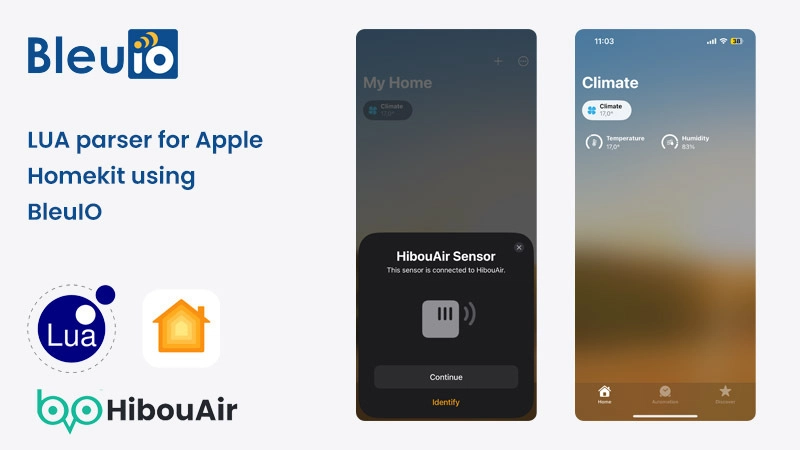
This project demonstrates how to turn a BLE advertisement-based air quality sensor—in this case, the HibouAir—into a fully integrated Apple Home accessory. By combining the flexibility of the BleuIO USB BLE dongle and the simplicity of Lua scripting, we’ve created a bridge that reads raw BLE advertisement packets, decodes the environmental data, and makes it available to the Apple Home app through Homebridge.
Unlike most HomeKit integrations that rely on cloud APIs or native HomeKit devices, this setup is completely offline and works on any platform. The use of BleuIO allows BLE communication to be handled reliably across macOS, Linux, or Windows—something most native BLE libraries struggle to achieve consistently across platforms. Lua adds a lightweight, embeddable scripting engine perfect for decoding raw advertisement data in real time. Together, they make a fast, minimalist, and cross-platform solution for BLE-to-HomeKit integration.
What This Project Does
At a high level, the system continuously scans BLE advertisements from the HibouAir sensor using BleuIO. The data is decoded using Lua, which extracts temperature and humidity values. These values are then served via a local HTTP server, and finally read by Homebridge using the homebridge-http-temperature-humidity plugin. This enables you to view real-time air quality data directly in the Apple Home app on your iPhone, iPad, or Mac.
Project Components and Tools Used
- BleuIO USB BLE dongle for cross-platform BLE scanning
- Python 3 to interface with BleuIO and run scan commands
- Lua for lightweight and efficient BLE advertisement parsing
- Homebridge to expose non-HomeKit devices to the Apple Home ecosystem
- homebridge-config-ui-x for a convenient web-based Homebridge interface
- homebridge-http-temperature-humidity plugin to read HTTP values as HomeKit accessories
- HibouAir Air quality monitoring device
Step-by-Step Setup
1. Connect and Configure BleuIO
Start by plugging in your BleuIO USB dongle. On macOS or Linux, find its serial port using:
ls /dev/tty.usb*
Once you’ve identified the port (e.g., /dev/tty.usbmodemXXXXXX), update the Python script accordingly.
2. Create bleuio_scan.py
This script will initiate a BLE scan using BleuIO’s AT command interface and capture the raw advertisement data from the HibouAir sensor. It filters for packets containing a specific manufacturer ID and writes the first match to a file.
import serial
import time
import re

# Update this with your actual port
port = "/dev/tty.usbmodem4048FDE52DAF1"

ser = serial.Serial(port, 9600, timeout=1)
ser.write(b"AT+FINDSCANDATA=5B07050=2\r\n")
time.sleep(4)

data = ser.read_all().decode()
ser.close()

print("RAW OUTPUT:\n", data)

# Extract first adv line
matches = re.findall(r"Device Data \[ADV\]: ([0-9A-F]+)", data)
if matches:
    with open("adv_data.txt", "w") as f:
        f.write(matches[0])
    print("✅ Wrote ADV data:", matches[0])
else:
    print("❌ No HibouAir data found.")
3. Parse the BLE Data Using Lua
Lua is ideal for embedded processing due to its speed and small footprint. We use it here to decode the hex-formatted BLE advertisement string into readable sensor values.
Create a file named parse_ble_adv.lua with the following:
local http = require("socket.http")
local ltn12 = require("ltn12")
local json = require("dkjson")

-- Reverse byte order (e.g., "1234" -> "3412")
local function reverse_bytes(hexstr)
    local bytes = {}
    for i = 1, #hexstr, 2 do
        table.insert(bytes, 1, hexstr:sub(i, i+1))
    end
    return table.concat(bytes)
end

-- Parse HibouAir BLE advertisement data
local function parse_adv_data(adv)
    local pos = string.find(adv, "5B070504")
    if not pos then return nil end
    pos = pos - 1 -- Lua is 1-indexed

    local function read_val(start, len, divide_by, signed)
        local hex = reverse_bytes(adv:sub(start, start+len-1))
        local val = tonumber(hex, 16)
        if signed and val > 0x7FFF then
            val = val - 0x10000
        end
        return divide_by and val / divide_by or val
    end

    return {
        temp = read_val(pos+23, 4, 10, true),
        hum = read_val(pos+27, 4, 10),
        pressure = read_val(pos+19, 4, 10),
        voc = read_val(pos+31, 4),
        pm1 = read_val(pos+35, 4, 10),
        pm25 = read_val(pos+39, 4, 10),
        pm10 = read_val(pos+43, 4, 10),
        co2 = tonumber(adv:sub(pos+47, pos+50), 16),
        vocType = tonumber(adv:sub(pos+51, pos+52), 16),
        ts = os.date("%Y-%m-%d %H:%M:%S")
    }
end

-- Example BLE advertisement data (replace with real data from BleuIO scan)
-- local adv_data = "0201061BFF5B070504220069130010273A0160017E0000000000000001B703"
local file = io.open("adv_data.txt", "r")
local adv_data = file:read("*a")
file:close()

local data = parse_adv_data(adv_data)
-- Write latest data to file
print("DEBUG: Writing this to latest_data.json")
print("Temperature:", data.temp)
print("Humidity:", data.hum)

local file = io.open("latest_data.json", "w")
file:write(json.encode({
    temperature = data.temp,
    humidity = data.hum,
}))

file:close()


if not data then
    print("Failed to parse advertisement data")
    return
end

print("Parsed BLE Data:")
for k, v in pairs(data) do
    print(k, v)
end
4. Automate Scanning and Parsing
To keep your data fresh, use a simple shell script to run both the scanner and parser every 10 seconds.
Create run_everything.sh:
#!/bin/bash
while true; do
  echo "Scanning and updating Homebridge..."
  python3 bleuio_scan.py && lua parse_ble_adv.lua
  sleep 10
done
Make it executable with:
chmod +x run_everything.sh
Run it in the background or with tmux to keep it alive.
5. Create the HTTP Server in Lua
This server reads from the JSON file and exposes it via an HTTP endpoint (/temp) that Homebridge can read.
local copas = require("copas")
local socket = require("socket")
local json = require("dkjson")

-- Start TCP server on port 8081
local server = socket.bind("*", 8081)
copas.addserver(server, function(c)
    c = copas.wrap(c)
    local request = c:receive("*l")

    if request and request:match("GET /temp") then
        -- Read latest temp/hum from file
        local file = io.open("latest_data.json", "r")
        local temp_hum = { temperature = 0, humidity = 0 }

        if file then
            local contents = file:read("*a")
            file:close()
            local decoded, _, err = json.decode(contents)
            if decoded then
                temp_hum = decoded
            end
        end

        local body = json.encode(temp_hum)

        local response = {
            "HTTP/1.1 200 OK",
            "Content-Type: application/json",
            "Content-Length: " .. #body,
            "",
            body
        }
        c:send(table.concat(response, "\r\n"))
    else
        c:send("HTTP/1.1 404 Not Found\r\n\r\n")
    end
end)

print("Lua HTTP server running on http://localhost:8081")
copas.loop()
You’ll need LuaSocket and dkjson:
luarocks install luasocketluarocks install dkjsonluarocks install copas
Run the server:
lua server.lua
It will listen on http://localhost:8081/temp and serve the current temperature and humidity.
Setting Up Homebridge and Home App Integration
Install Homebridge globally:
sudo npm install -g homebridge
Install the UI plugin for web-based setup:
sudo npm install -g homebridge-config-ui-x
Then install the required accessory plugin:
sudo npm install -g homebridge-http-temperature-humidity
Create or update your Homebridge config.json (usually located in ~/.homebridge/):
{
  "bridge": {
    "name": "Homebridge",
    "username": "0E:4E:20:2F:2E:BC",
    "port": 51826,
    "pin": "031-45-154"
  },
  "description": "Homebridge setup",
  "accessories": [
    {
      "accessory": "HttpTemphum",
      "name": "HibouAir Sensor",
      "url": "http://localhost:8081/temp",
      "http_method": "GET",
      "sendimmediately": "",
      "timeout": 3000
    }
  ],
  "platforms": [
    {
      "platform": "config",
      "name": "Config"
    }
  ]
}
Start Homebridge with:
homebridge -I
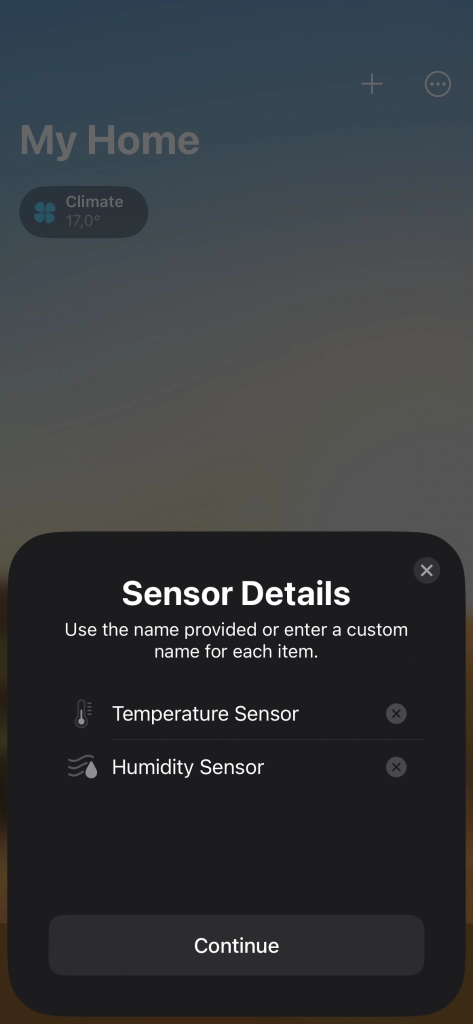
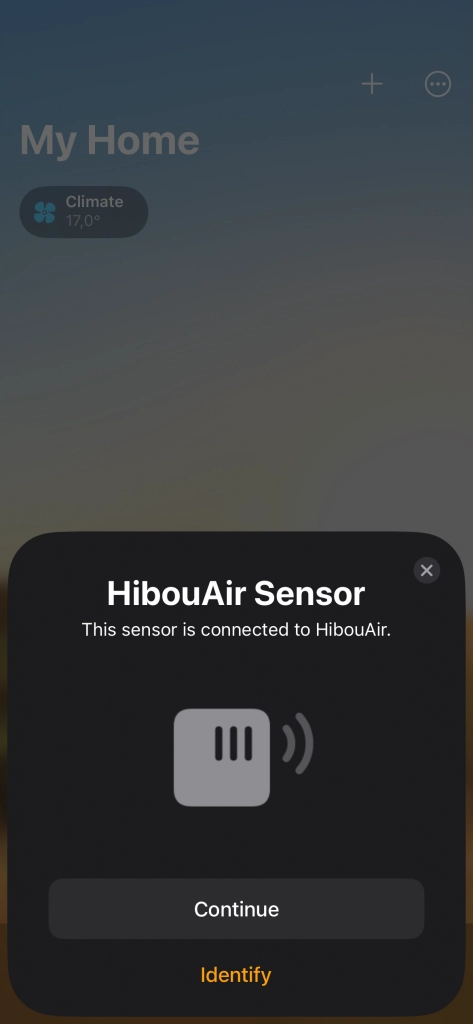
Use the Homebridge UI (usually on http://localhost:8081) to add the bridge to your Apple Home app by scanning the QR code. Once added, you’ll see temperature and humidity from your HibouAir sensor as real HomeKit accessories.

Output

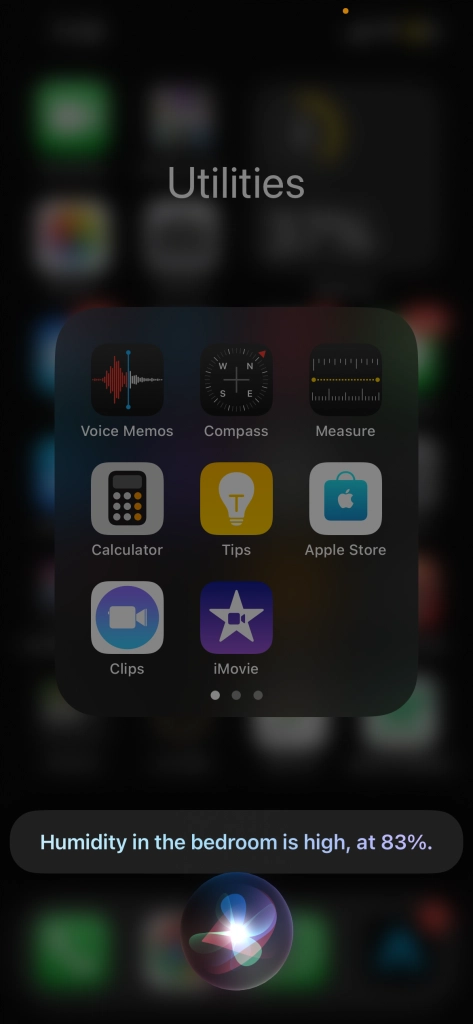
This project showcases how BleuIO and Lua can be used to create a fast, simple, and platform-independent BLE integration with Apple Home. Unlike heavyweight setups or cloud-connected devices, this approach is minimal, local-first, and highly customizable. With BleuIO’s cross-platform compatibility and Lua’s tiny footprint, you can integrate BLE advertisement data into almost any platform—from macOS to Raspberry Pi to embedded Linux. This is just the beginning. You can extend this setup to support more metrics like VOC, CO₂, pressure, light.


Top comments (0)