
As we know, when we are hosting a static site on GitHub Pages or any other platform at that time serving images efficiently is critical for performance and cost optimization. If you are working on a Food Delivery Application that includes multiple high-resolution images and hosting them directly on GitHub Pages or any other platform can lead to slower load times and unnecessary bandwidth consumption. To optimize performance and reduce costs, we can offload images to Amazon S3 and distribute them via AWS CDN service called CloudFront. It is a Content Delivery Network (CDN) that caches images closer to users across the worldwide.
In this blog, we will dive deep into how to set up Amazon S3 and CloudFront to optimize image hosting for your food delivery app. We’ll also explore some important key terminologies.
Primary Terminologies
- Reactjs: Frontend library for making single-page applications.
- Github/Vercel: It is a Platform Where we are hosting our static site.
- AWS S3: It is simple storage service that provide Highly scalable and durable storage solution.
- AWS CloudFront: It is Global Content Delivery Network (CDN) service that caches the data closure to user.
Key Improvements in Food Delivery Apps:
✅ Faster Page Loads – Reduce the latency for users across different regions by caching images and assets.
✅ Lower Data Transfer Costs – Avoid high charges for outbound data transfer of S3.
✅ Better User Experience – During peak traffic hours, it provides high availability and responsiveness.
✅ Scalability – It will efficiently Handles spikes in traffic with caching capabilities of CloudFront.
🛠️ Now, let's go through the steps to implement this setup:
Step 1: Creating S3 storage and Uploading Images to S3
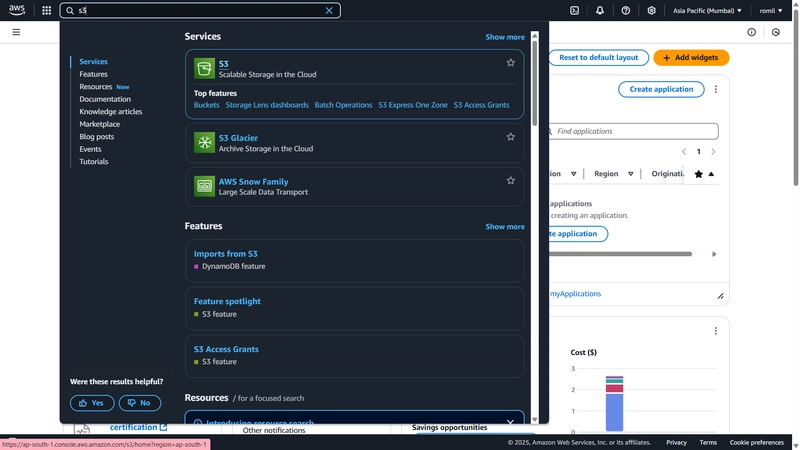
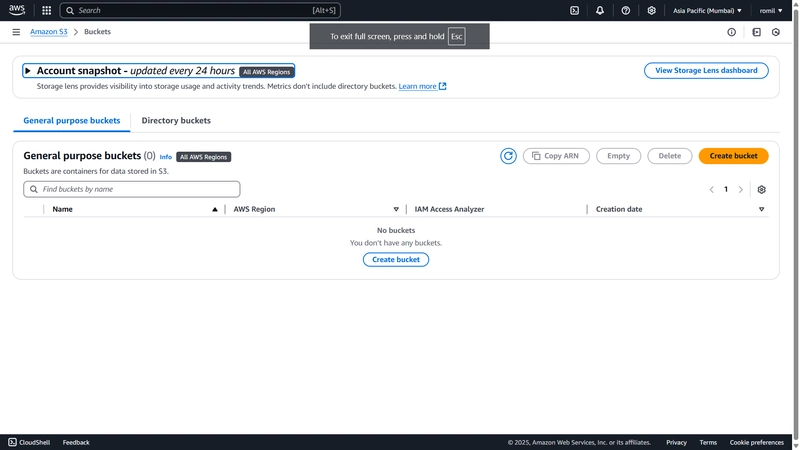
- First of all, login to AWS Console → Go to Amazon S3.
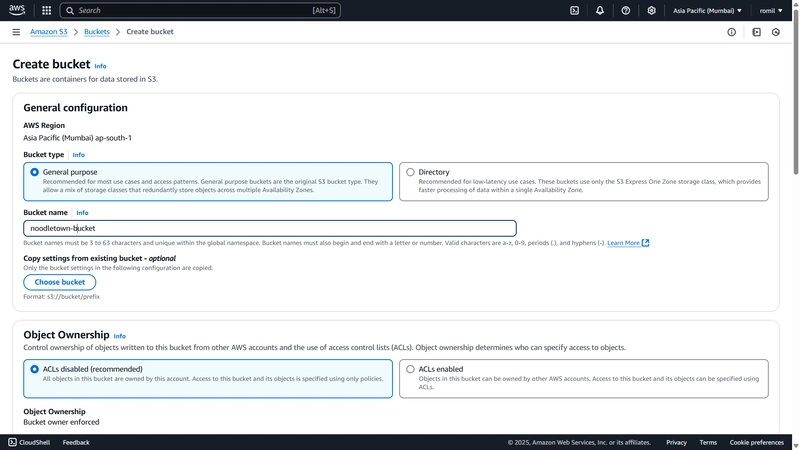
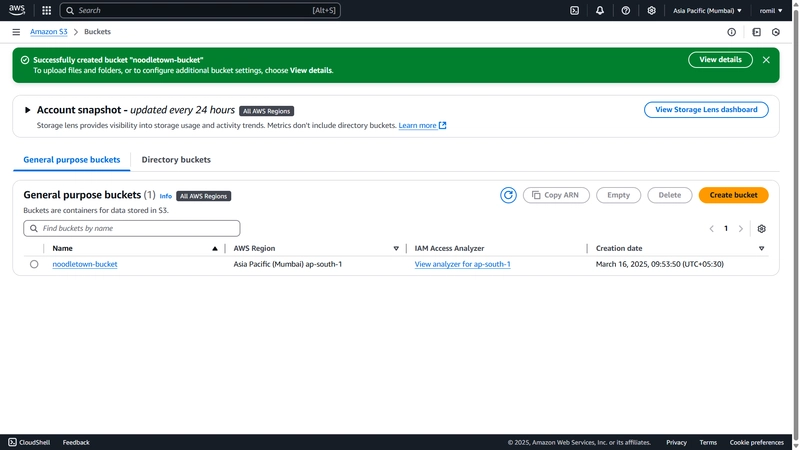
- Click Create bucket and enter a unique bucket name (e.g., noodletown-bucket).
Note: Bucket name should be unique globally.

- Disable
Block Public Access(since we want to serve images publicly). - Enabling the bucket version helps with accidental deletion protection, data recovery, and more (optional).
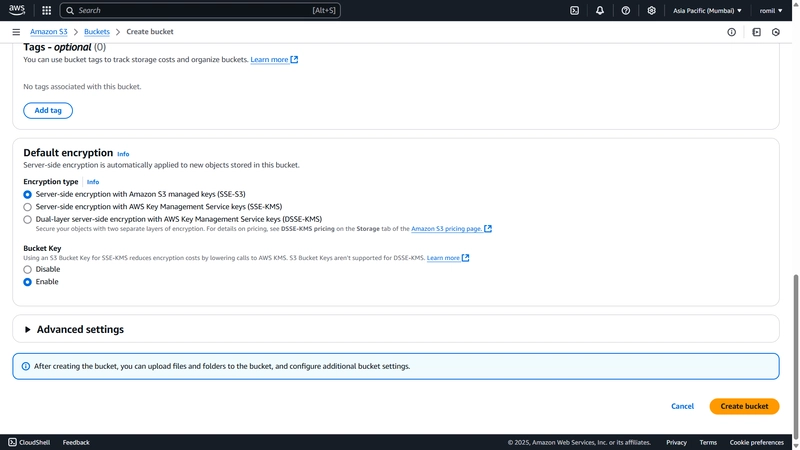
- Click on Create bucket.
- Once the bucket is created, open your S3 bucket and click
Upload.
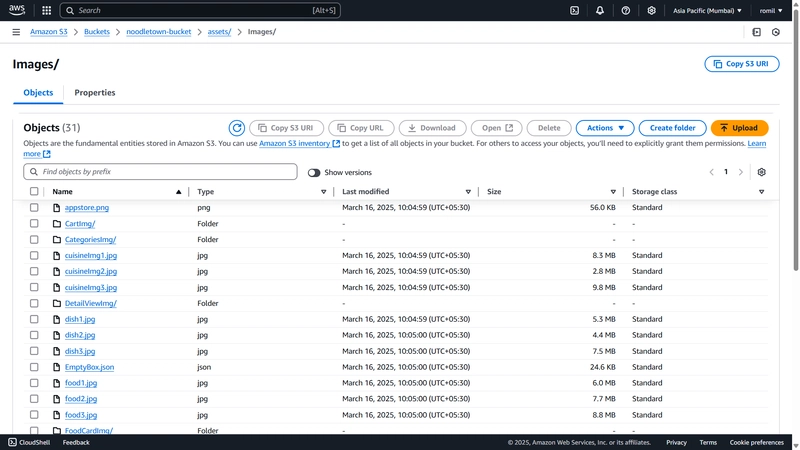
- Select all images from your local folder (src/assets/Images/).
- In my case, I am adding my entire directory which contains multiple multiple subdirectories.
- Click Upload to store them in S3.
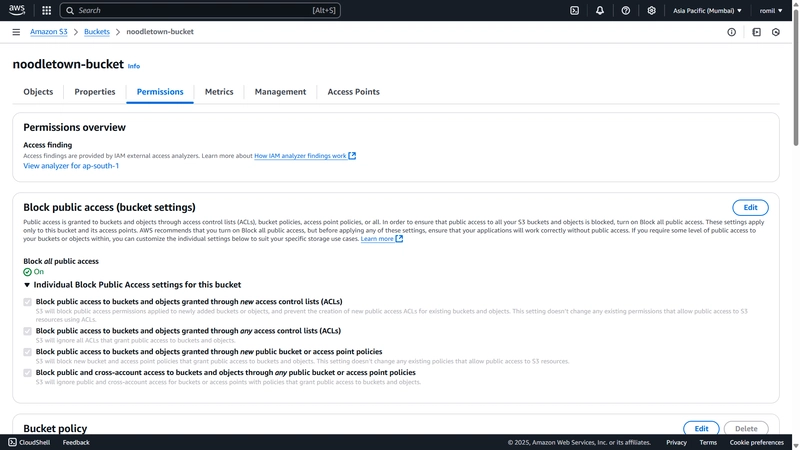
Note: One thing you should keep in mind is that you must disable
block public access, as we will edit our bucket policy once we get the policy from CloudFront.
🏆 Congratulations on completing the first phase, where we create a bucket and upload assets.
Step 2: Set Up AWS CloudFront for Faster Image Delivery
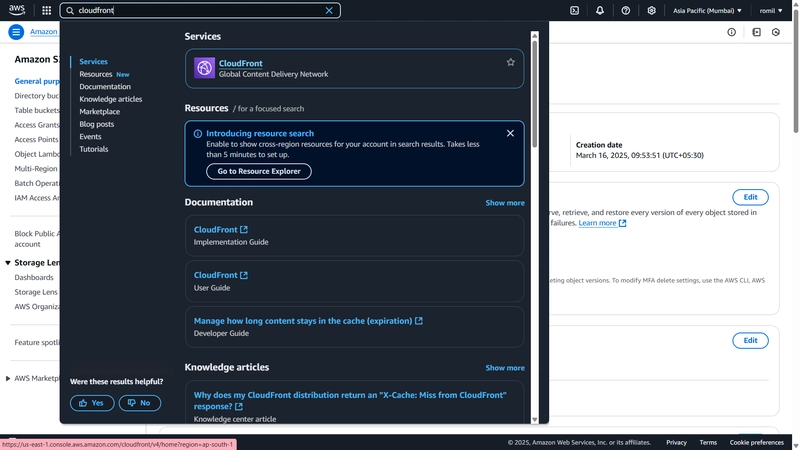
- The first step is to go to AWS CloudFront and click Create Distribution.
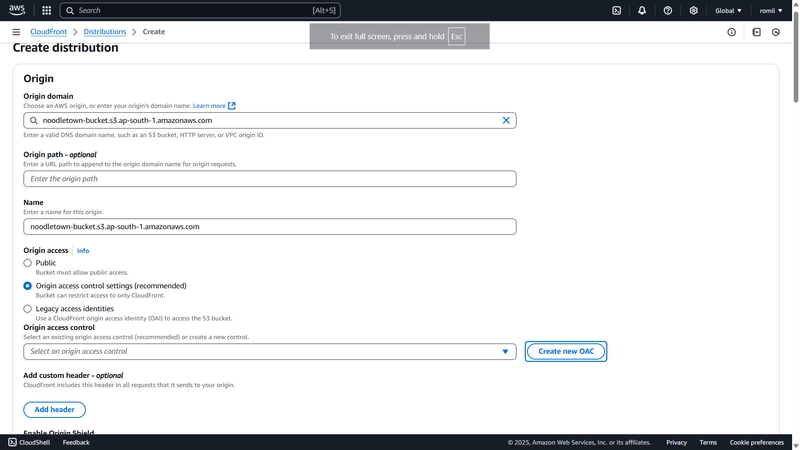
Under Origin Settings:
- Origin Domain: Select your S3 bucket (noodletown-bucket).
- Origin Path: Leave empty.
Origin Access: Select the Origin access control settings.
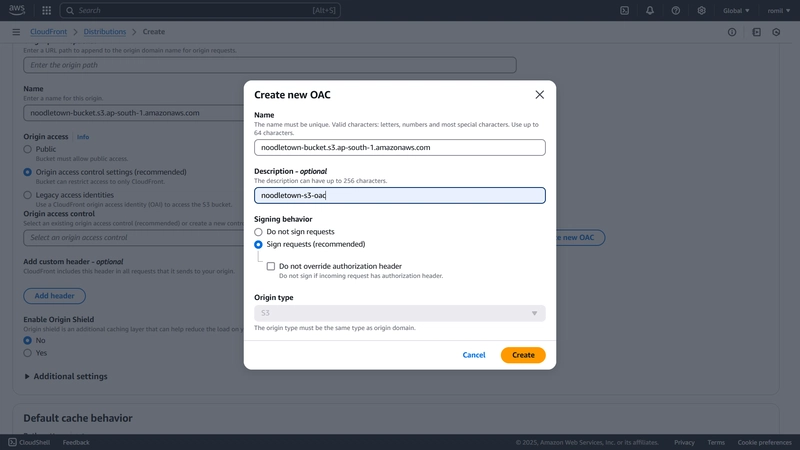
In Origin Access Control, create a new OAC and then click on the Create button. (If it is already present, select it directly.)
If you’re stuck on the term Origin Access Control, don't panic. I'm explaining it here just break the sentence into words:
- Origin: It refers to the source server where our images are stored.
- Access Control: It refers to the permissions and rules that determine who or what can access the resources stored in S3.
- Origin Access Control: Now, it refers to the set of rules or permissions that define how access is granted to the origin.
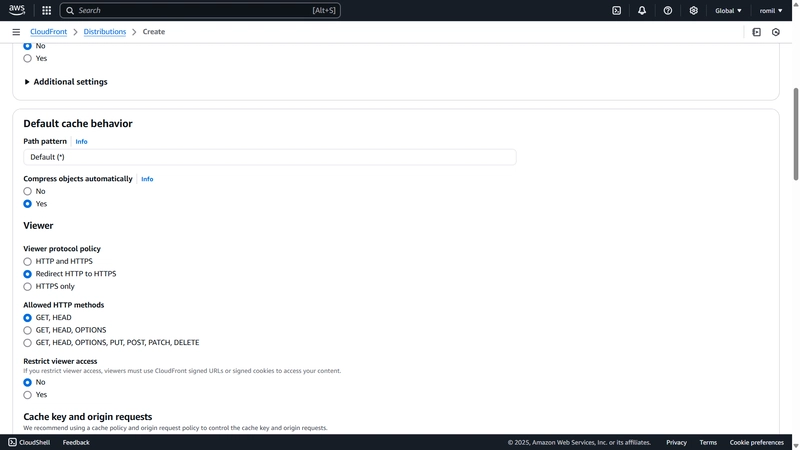
Default Cache Behavior Settings:
- Viewer Protocol Policy: Redirect HTTP to HTTPS.
- Allowed HTTP Methods: GET, HEAD.
- Object Caching: Use recommended settings.
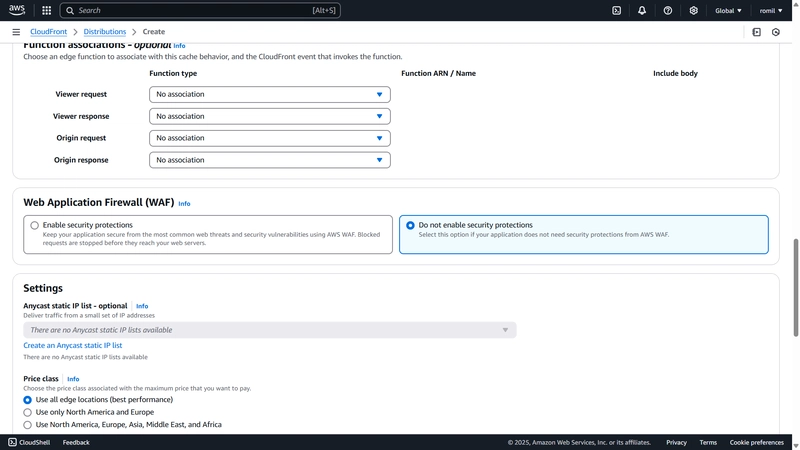
- Here, we don't need any WAF protection, so select Do not enable security protections.
🏆 Congratulations on completing the second phase, where we create and configure AWS CloudFront.

- Now click on Copy Policy and paste this into S3.
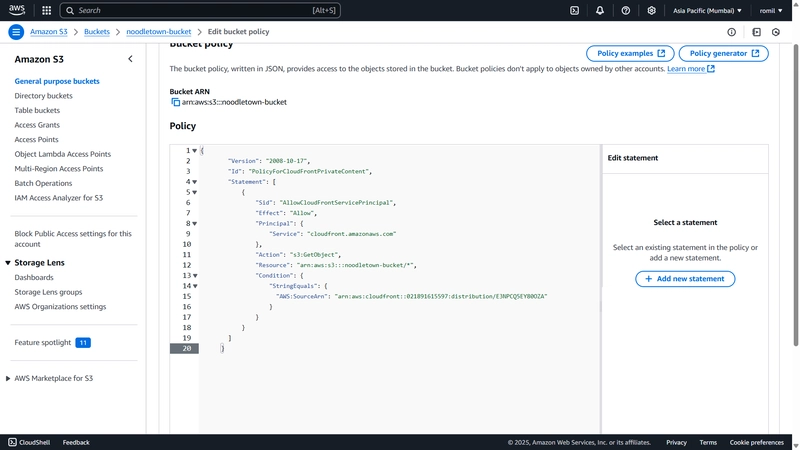
- In S3, go to the Permissions tab, click on Edit, paste those permissions there, and click Save.
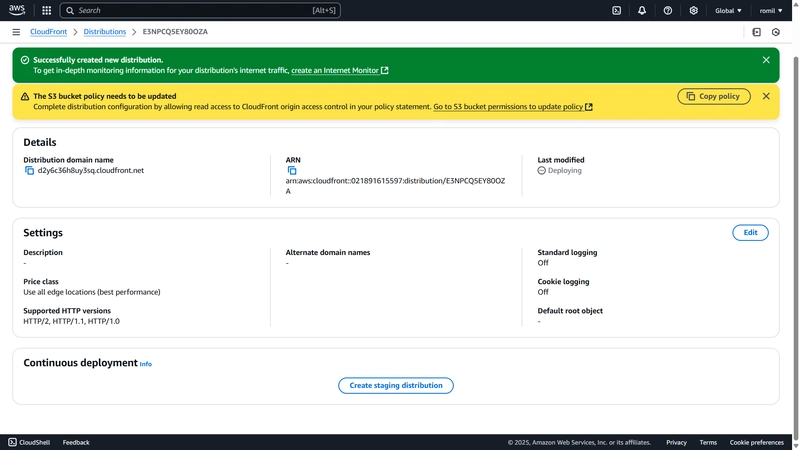
- Then, copy the Distribution Domain Name from CloudFront's Distributions.
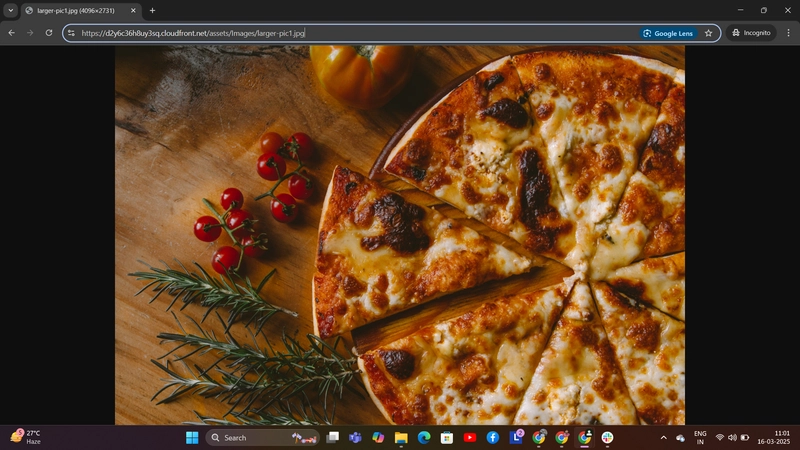
- Then, add the domain name in the browser and also append the path of the assets from the bucket.
- It should look like this: domain name + path of the assets.
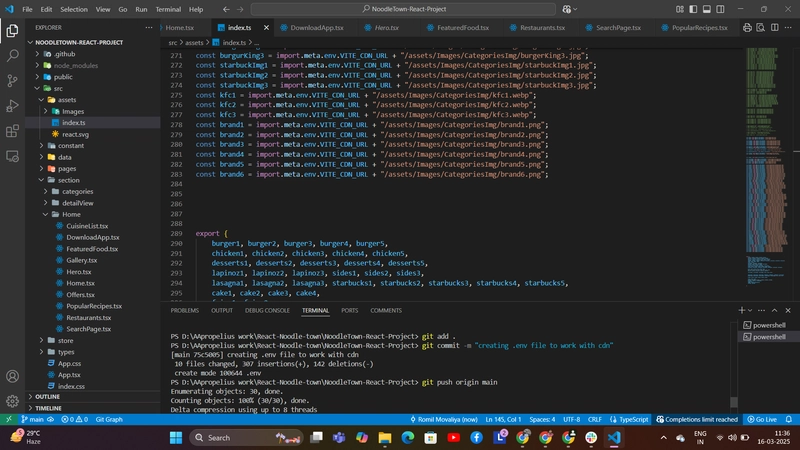
Step 3: Use CloudFront URLs in React App
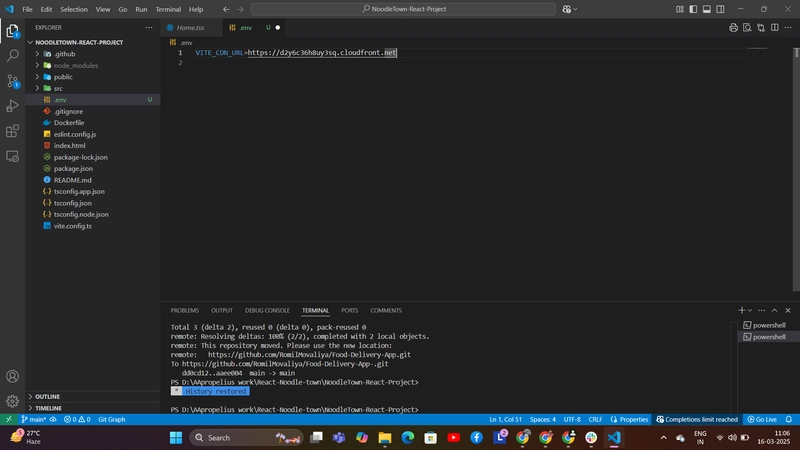
- Now, come into our IDE (VS Code) and create one .env file then Add
Distribution domain name.

- Once added successfully, change your image path to use the Environment Variable.
- Next, push your code to GitHub and deploy it to production.
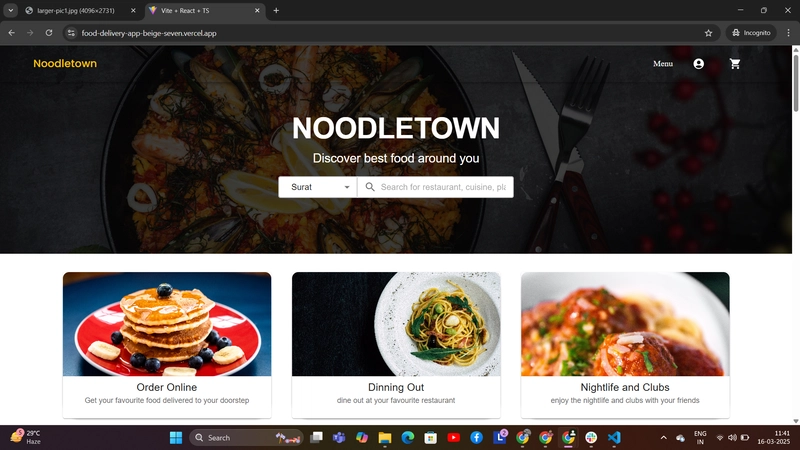
- Then check if everything works well!
🏆 Congratulations on completing the third phase, where we use our CloudFront URL in our React application.
💡You might have one question:
What if we want to directly access the assets without manually adding the S3 path after the CDN link?
- Yes, we also have a solution for that.
- If we directly access, it will show like the image below.
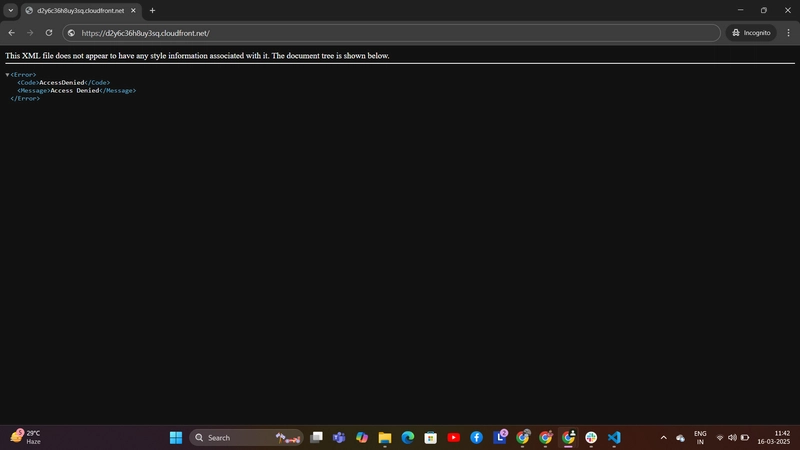
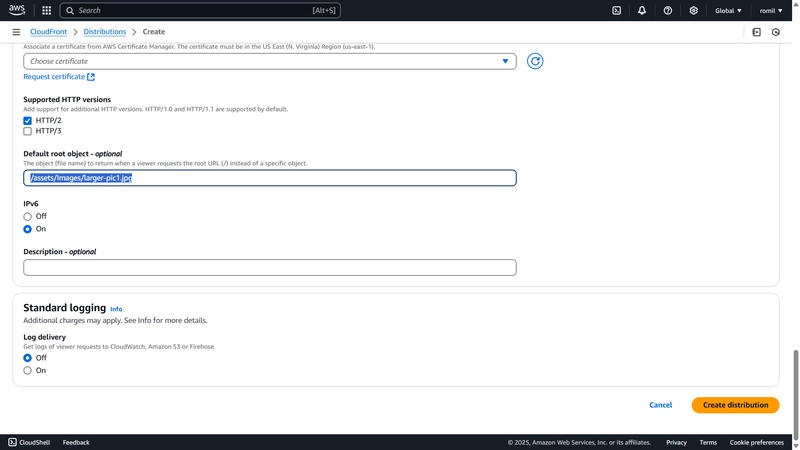
- But if you assign a path in the
Default Root Object, it will work properly.
Step 4: Stopping and Removing all Services
- Now it's time to shut down all the services after completing our practical.
- First, we are stopping our CloudFront service.
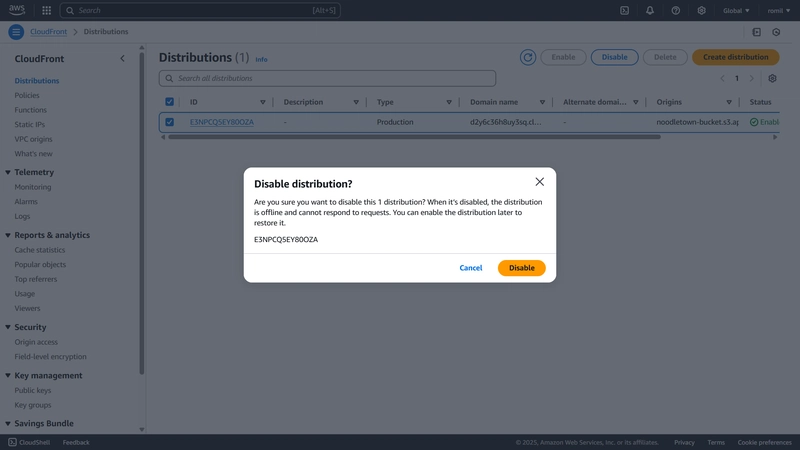
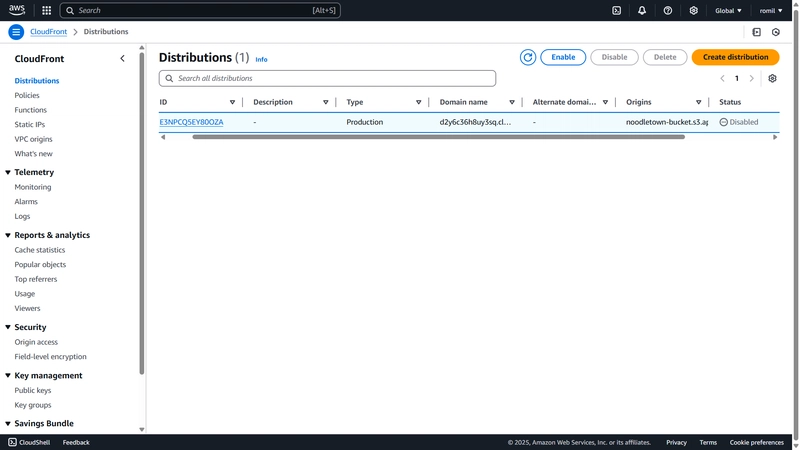
- The first step is to disable the distribution, and after 10-15 minutes, we will be able to delete the distribution.
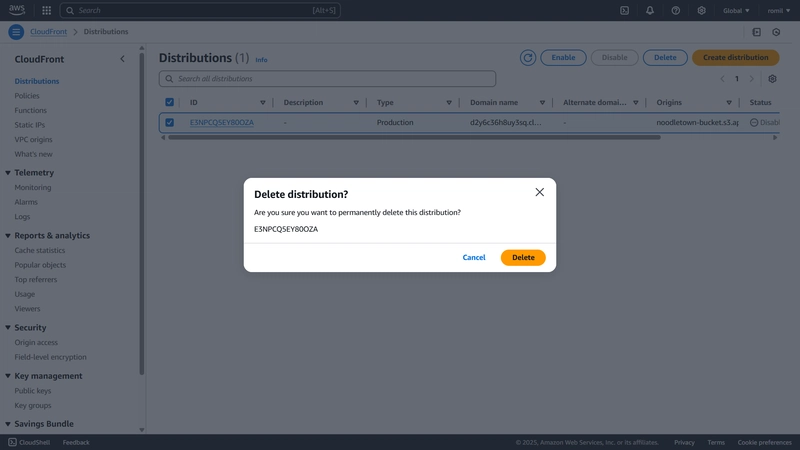
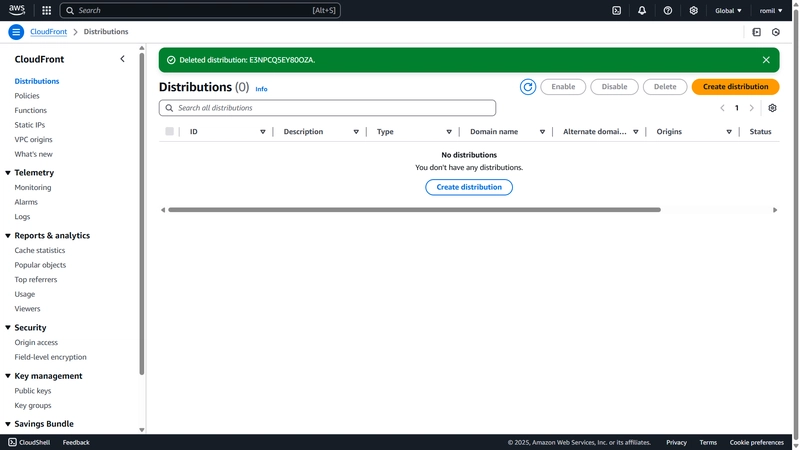
- Now it is deleted successfully.
- Then clear our S3 bucket and delete it.
What other things can we add in our food delivery application for cost optimization?
- In a food delivery application, each time a bill recipe is generated and stored in our storage, it could incur charges because we mostly check the bill after a month or a few months later. For that reason, we need a solution that will help us reduce our costs. Here in this case, we use AWS cloud storage lifecycle, which will reduce our bill.
Amazon S3 Lifecycle Policy:
- Amazon S3 lifecycle policy enables you to delete or move objects based on their age.
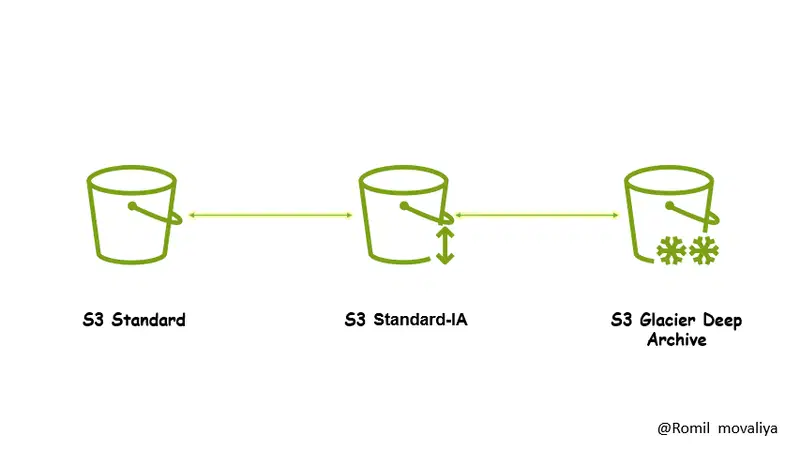
After 30 days, the object is moved from Amazon S3 Standard to Amazon S3 Standard-IA. Then, after 60 days, it will move into Amazon S3 Glacier. After 365 days, it will be automatically deleted.
The same scenario applies to our food delivery application. We have too many bills generated by the system. Here, we are directly applying our S3 lifecycle policy, so it will move after 30 days from S3 Standard to S3 Standard-IA, and then after 60 days, it will move to Amazon S3 Glacier. It will take some time for retrieval of our bill, but it is the most suitable option for reducing the cost.
AWS S3 storage has different classes:
-
S3 Standard- it is suitable for general purpose, but cost is higher, benefit is quickly access the data. -
S3 Standard-IA- it is suitable for Infrequent data access in milliseconds, cost is lower as compare to s3 standard. It also incur per GB retrieved charges. -
S3 Intelligent-Tiering- Automated cost saving strategy for data with their changing access state patterns. -
S3 One Zone-IA- Here all the things is same as per S3 Standard-IA but the key difference is only one availability zone is there. It also incur per GB retrieved charges. -
S3 Glacier Instant Retrieval- For those data who is required for few times in year, The key benefit is minimal storage duration charge is 90 days. It also incur per GB retrieved charges. -
S3 Glacier Flexible Retrieval- it is very low cost solution for rarely access data. -
S3 Glacier Deep Archive- it is very lowest cost solution for very rarely access data.
One thing that is common in each Amazon S3 class. That is, It has 11'9 durability.
AWS Free Tier Cost Estimation for S3 + CloudFront Setup
| Service | Free Tier Usage (Monthly) | Expected Cost |
|---|---|---|
| S3 Storage | 5GB | $0.00 |
| S3 Requests | 20,000 GET, 2,000 PUT | $0.00 |
| CloudFront Data Transfer | 1TB | $0.00 |
| CloudFront Requests | 10 million | $0.00 |
| TOTAL COST (within free tier) | $0.00 |
When Do You Start Paying?
- If images exceed 5GB in S3 → ~$0.023 per extra GB.
- If monthly GET requests exceed 20,000 → ~$0.0004 per 1,000 extra requests.
- If CloudFront traffic exceeds 1TB → ~$0.08 per extra GB.
- For a small app with a moderate number of users, the free tier is sufficient for months before incurring any cost. 🚀
Note: One thing to keep in mind is that there are no inbound charges, it only charges for outbound data transfer.
Inbound data transfer: data is being uploaded into AWS services, such as uploading files to s3.
Outbound data transfer: data is being served to users or transferred out of AWS.
Conclusion
By integrating AWS S3 with a cloudfront, you can increase the performance and scalability of your food distribution app by adjusting costs. Host images on S3 and serve them through Cloudfront ensure rapid load time, low bandwidth cost and a spontaneous user experience, also in high traffic periods. With simple steps to Set-up, this approach provides an efficient, cost -effective solution for stable property management. In addition, by taking advantage of AWS free level, you can start with minimal costs, so this solution can be perfect for a small medium-sized app.
FAQs
1. Can I Use AWS Route 53 with a GitHub Pages + AWS S3 + CloudFront Setup?
Yes, AWS Route 53 can be used if you want a custom domain (eg, www.yourfoodapp.com) instead of Standard Github Side URL (Youusname.github.io).
2. If I want to integrate AWS route 53 service in my project. What would be it's estimated total cost?
If you need a custom domain for your project it will cost you at least $6-$7 for 3 months?
cost calculated based on your requirements, for example:
- Route 53 Hosted Zone : This estimated cost of the feature is $0.50/month and is not included in free tier. 2.Route 53 Queries : This will be included in the free tier but upto 1M queries only and the estimated cost ranges from $0.00 to $0.40.
- Domain Registration : This estimated cost of the feature is $12–$15/year and is not included in free tier.
3. what would happen if I do not enable the version of my AWS s3 service?
If versioning is not enabled in S3, deleted or overwritten files cannot be recovered. You lose the ability to revert to previous versions. It's advisable to enable versioning for better data protection and recovery.
What are the significant differences between different classes of the S3 glacier?
How are S3 glacier classes different from each other?
There are in total 3 classes of s3 glacier.
- S3 Glacier Instant Retrieval
- S3 Glacier Flexible Retrieval
- S3 Glacier Deep Archive The s3 Glacier Retrieval class has 99.9% availability, while the other two have 99.99% availability.

Top comments (0)