Comprehensive Laravel Deployment Guide with GitHub Actions and VPS
Prerequisites
- A GitHub repository with your Laravel project
- A VPS (Virtual Private Server) running Linux (Ubuntu recommended)
- SSH access to your VPS
- Basic understanding of Git, Laravel, and terminal commands
Step 1: Prepare Your Local Development Environment
1.1 Ensure Your Laravel Project is Ready
- Make sure your project is in a GitHub repository
- Check your
.gitignorefile to exclude unnecessary files:
/node_modules
/public/hot
/public/storage
/storage/*.key
/vendor
.env
.env.backup
.phpunit.result_cache
1.2 Prepare Environment Configuration
- Create a
.env.productionfile with production-specific configurations - Ensure sensitive information is not hardcoded
Step 2: Set Up SSH Keys for GitHub Actions
2.1 Generate SSH Keys on Your Local Machine
# Generate a new SSH key specifically for GitHub Actions
ssh-keygen -t ed25519 -C "github-actions-deployment"

# Save the key in a specific location, e.g., ~/.ssh/github_actions_key
# Do NOT use a passphrase for automated deployment
2.2 Set Up SSH on VPS
- Connect to your VPS via SSH
ssh root@your_vps_ip
- Create a deployment user
# Create a new user for deployments
adduser deployer

# Give sudo privileges (use carefully)
usermod -aG sudo deployer

# Switch to deployer user
su - deployer
- Set up SSH directory for the deployer user
mkdir -p ~/.ssh
chmod 700 ~/.ssh
touch ~/.ssh/authorized_keys
chmod 600 ~/.ssh/authorized_keys
2.3 Configure GitHub Repository Secrets
- Go to your GitHub repository
- Navigate to Settings > Secrets and variables > Actions
- Add the following secrets:
-
VPS_HOST: Your VPS IP address -
VPS_PORT: SSH port (default 22) -
VPS_USER: deployer -
SSH_PRIVATE_KEY: Content of the private key generated in step 2.1 -
SERVER_DESTINATION: Path on server (e.g.,/home/deployer/your-app) -
DEPLOYMENT_ENV_FILE: Base64 encoded production.envfile contents
-
Step 3: Prepare VPS for Laravel Deployment *[Skip to step 4 if you are using any VPS panel]
3.1 Install Required Software
# Update system
sudo apt update && sudo apt upgrade -y

# Install PHP and extensions
sudo apt install -y php8.2-fpm php8.2-cli php8.2-common php8.2-mysql php8.2-zip php8.2-gd php8.2-mbstring php8.2-curl php8.2-xml php8.2-bcmath

# Install Composer
curl -sS https://getcomposer.org/installer | php
sudo mv composer.phar /usr/local/bin/composer

# Install Nginx
sudo apt install -y nginx

# Install MySQL (if not already installed)
sudo apt install -y mysql-server

# Install Node.js and NPM
curl -fsSL https://deb.nodesource.com/setup_lts.x | sudo -E bash -
sudo apt install -y nodejs
3.2 Configure Nginx
- Create Nginx configuration
server {
    listen 80;
    server_name your-domain.com;
    root /home/deployer/your-app/public;

    index index.php;

    charset utf-8;

    location / {
        try_files $uri $uri/ /index.php?$query_string;
    }

    location = /favicon.ico { access_log off; log_not_found off; }
    location = /robots.txt  { access_log off; log_not_found off; }

    error_page 404 /index.php;

    location ~ \.php$ {
        fastcgi_pass unix:/var/run/php/php8.2-fpm.sock;
        fastcgi_index index.php;
        fastcgi_param SCRIPT_FILENAME $realpath_root$fastcgi_script_name;
        include fastcgi_params;
    }

    location ~ /\.(?!well-known).* {
        deny all;
    }
}
- Enable configuration
sudo ln -s /etc/nginx/sites-available/your-app /etc/nginx/sites-enabled/
sudo nginx -t
sudo systemctl restart nginx
Step 4: Create GitHub Actions Workflow *[Continue from here if you are using VPS panel on your server]
4.1 Create Workflow File
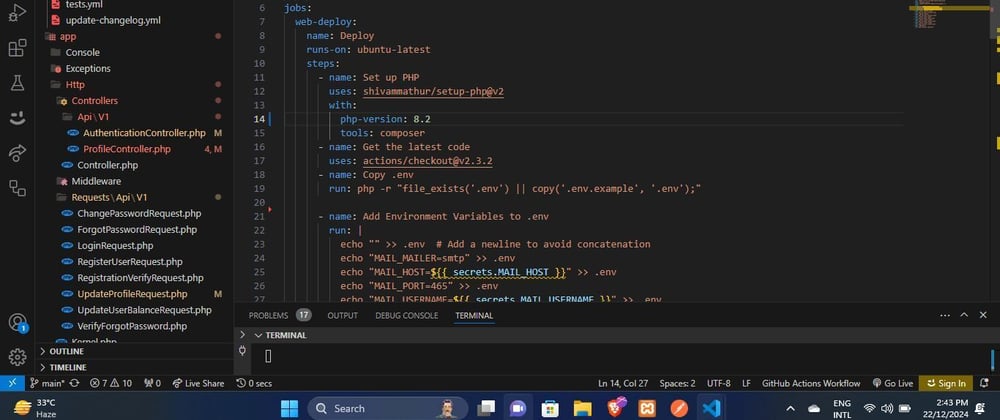
Create .github/workflows/laravel-deploy.yml:
name: Laravel Deployment

on:
  push:
    branches: [ "main" ]

jobs:
  deploy:
    runs-on: ubuntu-latest

    steps:
    - uses: actions/checkout@v3

    - name: Setup PHP
      uses: shivammathur/setup-php@v2
      with:
        php-version: '8.2'
        extensions: mbstring, bcmath, zip

    - name: Install Composer Dependencies
      run: composer install -q --no-ansi --no-interaction --no-scripts --no-progress --prefer-dist

    - name: Install NPM Dependencies
      run: npm install

    - name: Build Frontend
      run: npm run build

    - name: Prepare Environment File
      run: |
        echo "${{ secrets.DEPLOYMENT_ENV_FILE }}" | base64 --decode > .env

    - name: Deploy to VPS
      uses: appleboy/ssh-action@master
      with:
        host: ${{ secrets.VPS_HOST }}
        username: ${{ secrets.VPS_USER }}
        key: ${{ secrets.SSH_PRIVATE_KEY }}
        script: |
          cd ${{ secrets.SERVER_DESTINATION }}
          git pull origin main
          composer install --no-interaction
          php artisan migrate --force
          php artisan config:clear
          php artisan cache:clear
          npm install
          npm run build
          sudo systemctl restart nginx
Step 5: Final VPS Configuration
5.1 Set Up Git on VPS
cd /home/deployer/your-app
git init
git remote add origin https://github.com/your-username/your-repo.git
5.2 Set Permissions
sudo chown -R deployer:deployer /home/deployer/your-app
sudo chmod -R 755 /home/deployer/your-app
sudo chmod -R 775 /home/deployer/your-app/storage
sudo chmod -R 775 /home/deployer/your-app/bootstrap/cache
Step 6: Database Setup
# Create MySQL database
sudo mysql
CREATE DATABASE your_database_name;
CREATE USER 'your_username'@'localhost' IDENTIFIED BY 'your_password';
GRANT ALL PRIVILEGES ON your_database_name.* TO 'your_username'@'localhost';
FLUSH PRIVILEGES;
EXIT;
Troubleshooting Tips
- Check GitHub Actions logs for specific errors
- Verify SSH key permissions
- Ensure all secrets are correctly set
- Check Nginx and PHP-FPM logs for deployment issues
Security Recommendations
- Use strong, unique passwords
- Keep your system and dependencies updated
- Configure firewall (UFW)
- Use SSH key authentication
- Limit sudo access
if you need more elaboration on any specific part of this comprehensive deployment guide, paste on the comment section.


Top comments (0)